Action Report 20081110
After our extended road trip that took us about 8,000 miles across the west, we returned to San Diego. Life was pretty much "normal" for several weeks, and then on a trip through the front yard, I noticed that there was a spot under my truck. Upon closer inspection, I was dismayed to discover that there was a significant leak in my brake system. There was a large pool of fluid under one of the rear wheels. I was aware of a leak, as I had been forced to add brake fluid almost every day during the trip. But, it was never a large enough leak to actual run down the tire. So, after an investigation, I decided to attempt a repair of the system myself.
The photos below are what we saw.
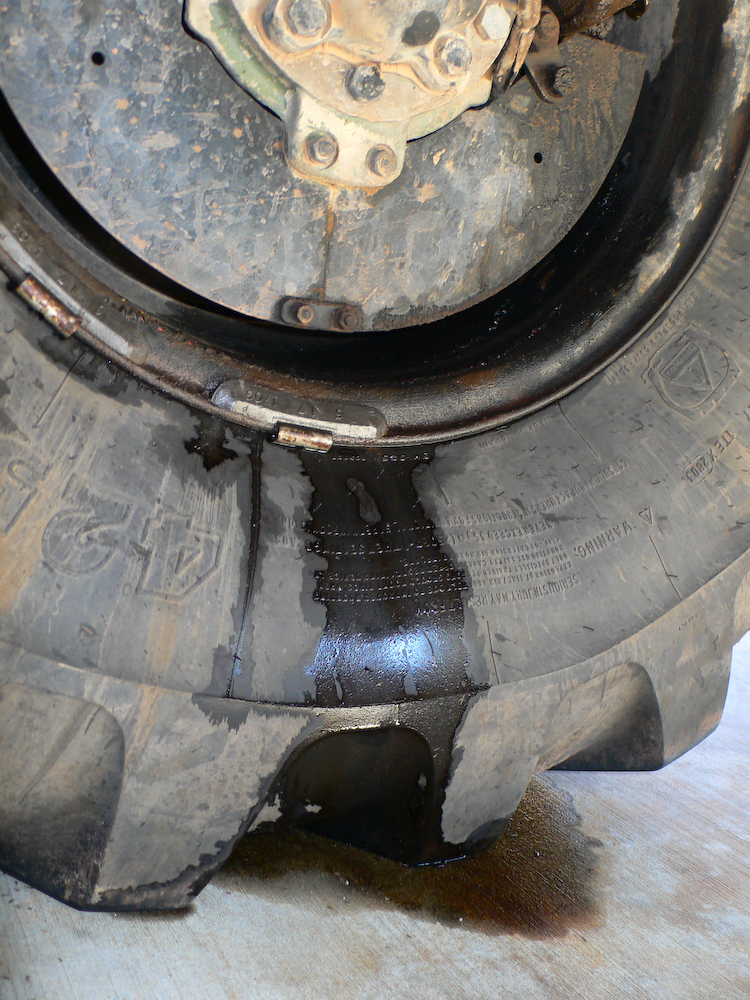
This is what the leak looked like. At first, I thought that my repair job on the rear wheel bearings had failed. But, on closer inspection, the fluid was not gear oil, but rather brake fluid.
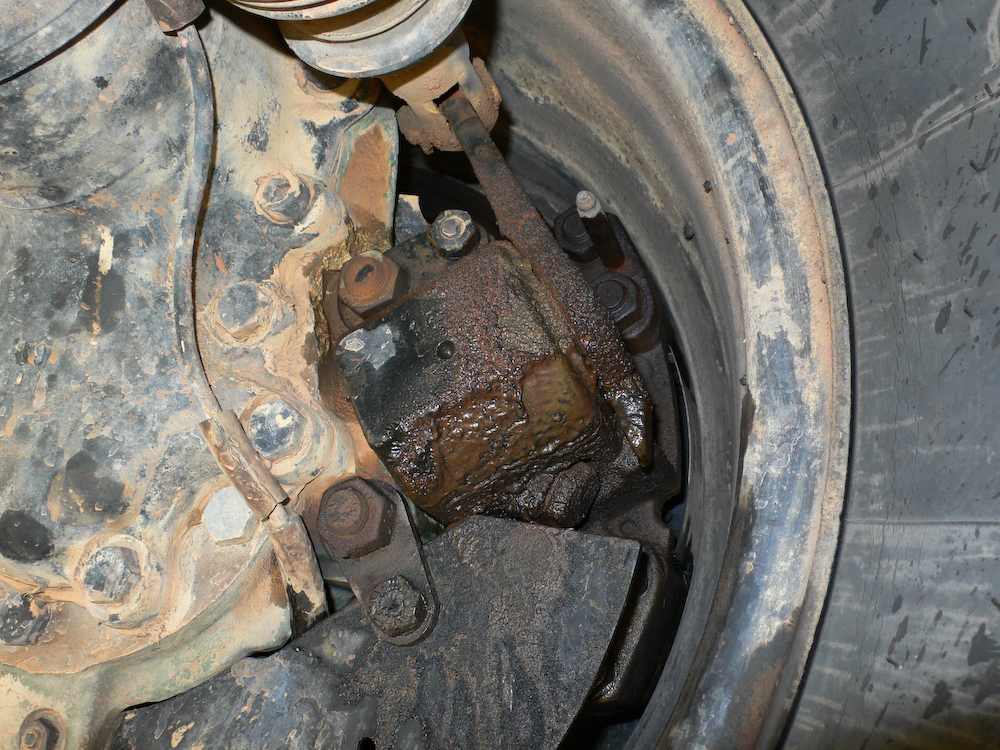
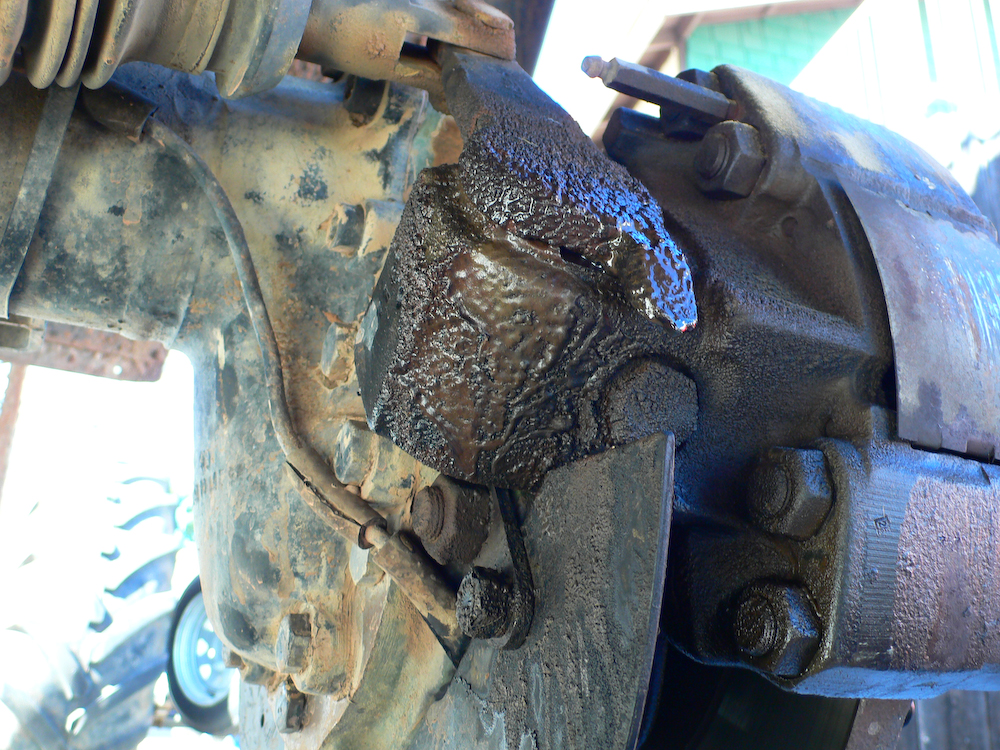
The source of the leak was a seal between the parking brake actuation lever and the main body of the brake assembly. This cannot be fixed "in situ", so removal and disassembly of the brake was in store.
The leak was substantial and letting the truck sit without operation only made it worse. I ended up having to fill the reservoir daily to prevent it from running dry.
These tires and rims look nice and clean, eh? That is because Kathleen and I just spent a whole day mounting these used MPT-80s on new rims. I wore my XM-47s down to the carcass on the road trip and Mark Mitchell was kind enough to provide me with these "new" old tires to meet my needs pending arrival of different used tires. More on that later. Make no mistake about it, dismounting and re-mounting these tires is a ton of hot, sweaty work.
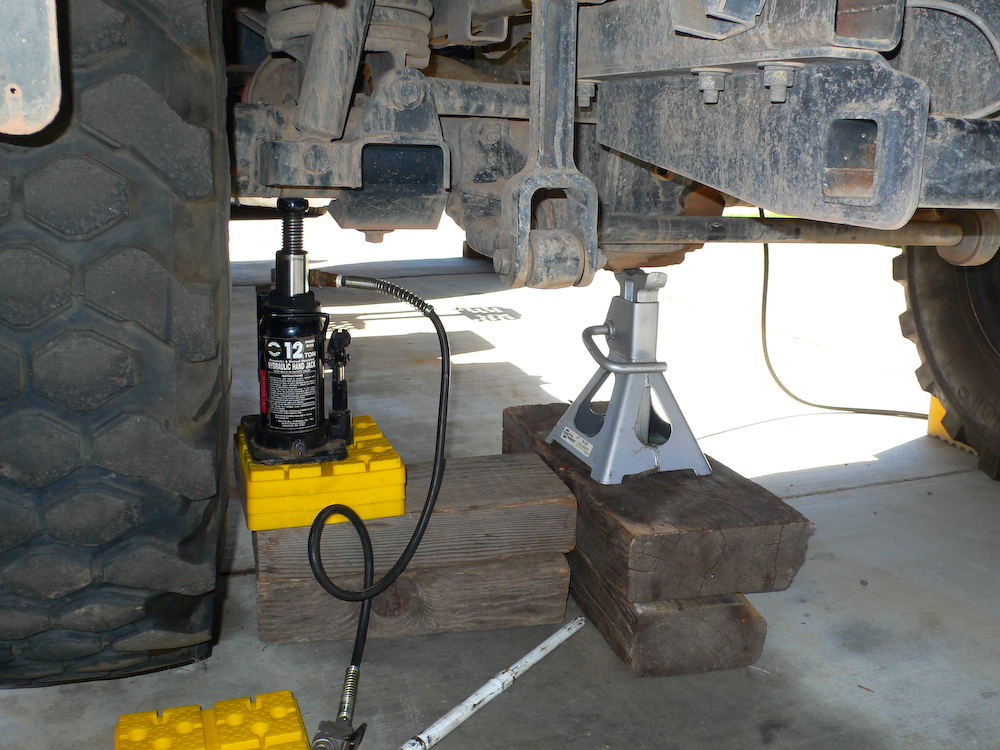
First order of the day is to get the tire/wheel off the truck. Safety is critical and you should always use a jack stand in addition to the jack, in case the jack fails.
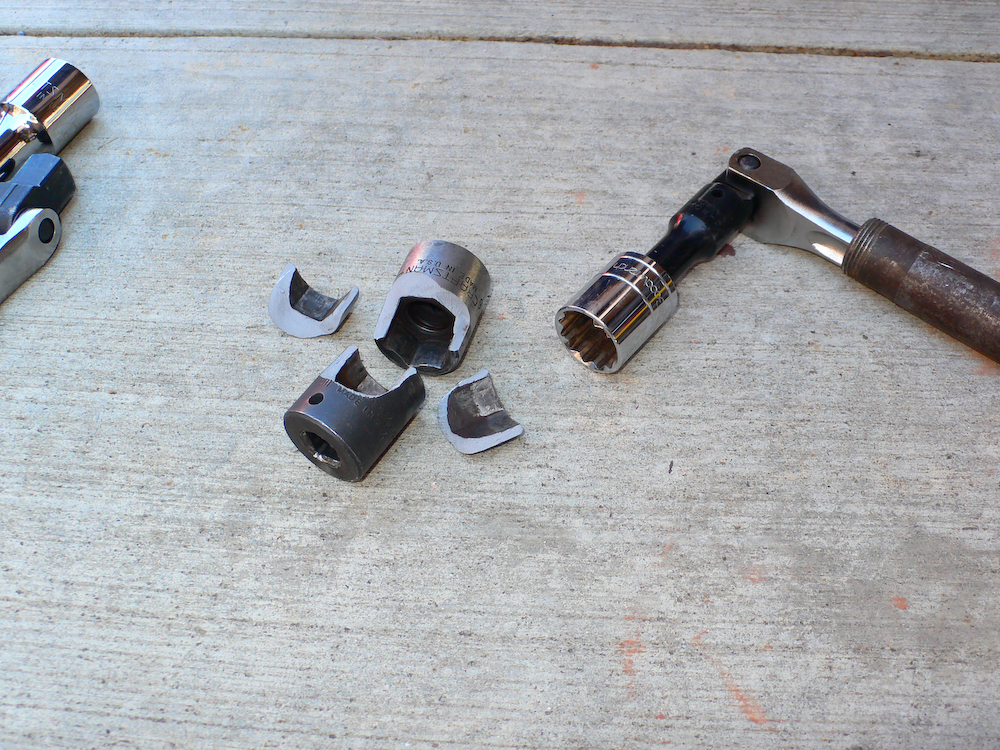
After the wheel is off, it is time to remove the hub. Like before, I broke sockets. This time, I broke 2 hardened impact sockets and a 1/2 breaker bar before I got the hub off. In the far left of the photo you can see that after the first broken bar, I bought a 3/4" breaker, extension and thin-walled 21-point socket. That one works fine.
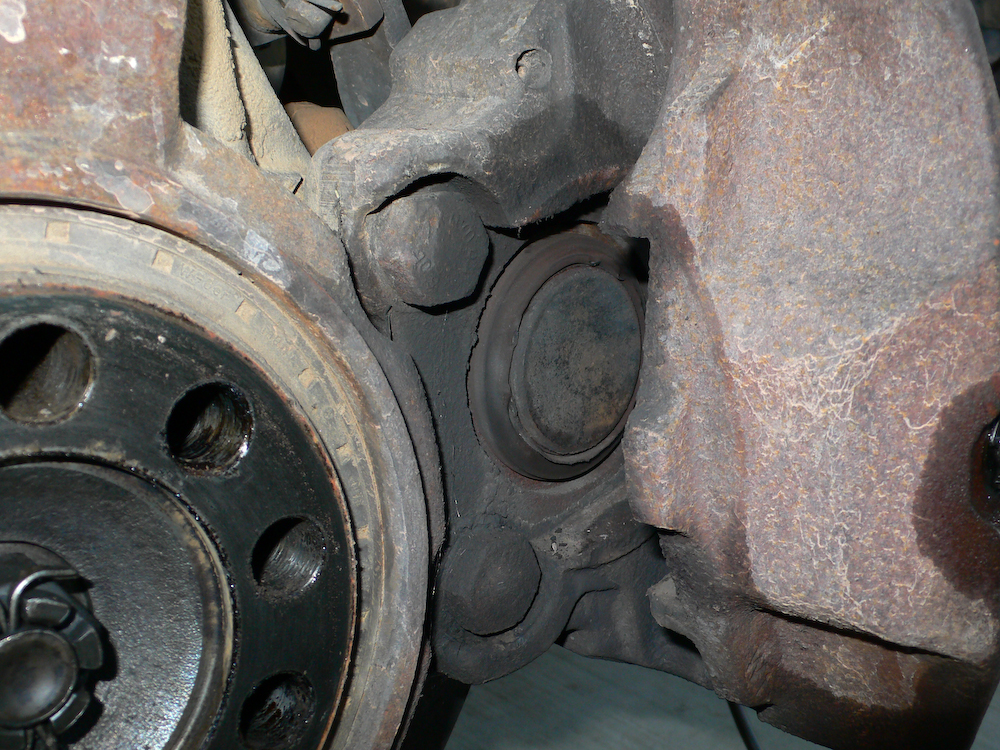
After the hub and brake disc was removed, I grabbed the camera and shot the inside of the assembly. Note how hosed the pads are. I think it was a combination of the oil from the hub failure and the excessive heat from the failed bearings that roasted the pads.
A close-up of the pad shows several things. First, the pads are toast. Second, the dust seals on the pistons are toast as well. Time to get new parts.
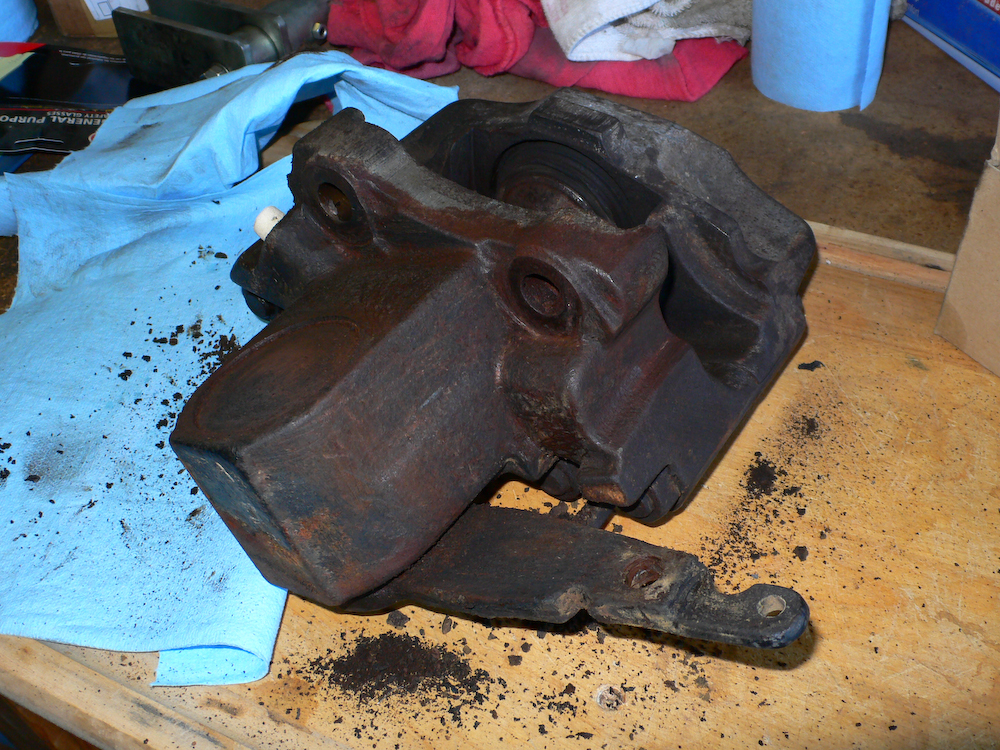
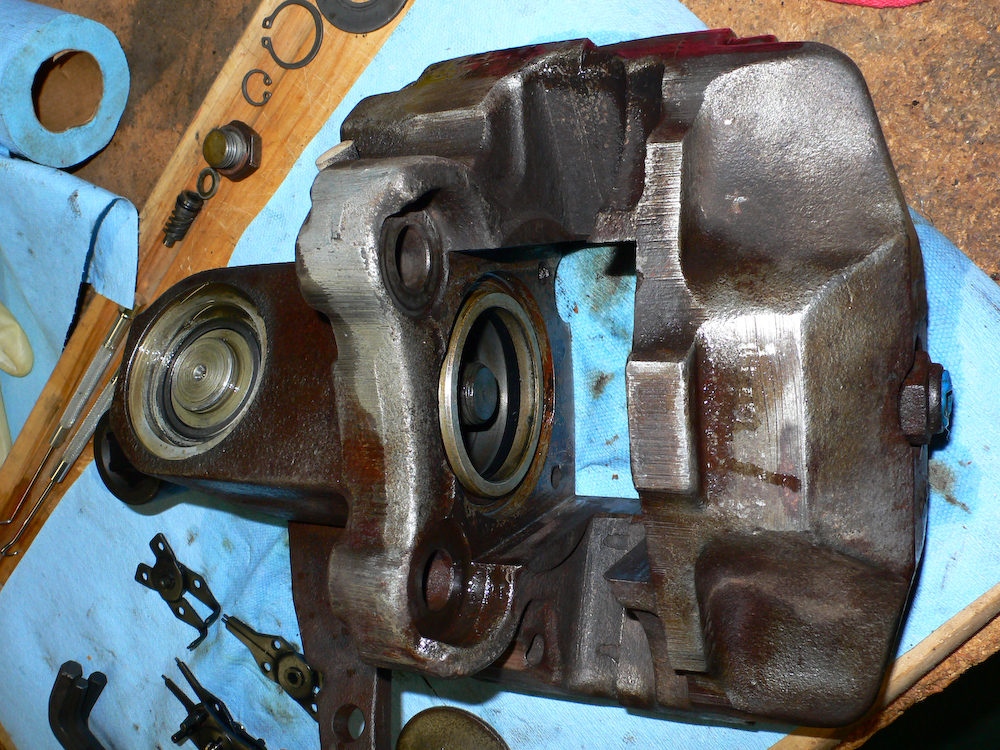
A was smart when I reinstalled the brake assembly after the last failure - I used anti-seize on the body bolt. So, removal was duck soup. Once the hydraulic line was disconnected, the assembly was put on the bench for inspection. This guy was filthy and a good cleaning was in order before proceeding any further.
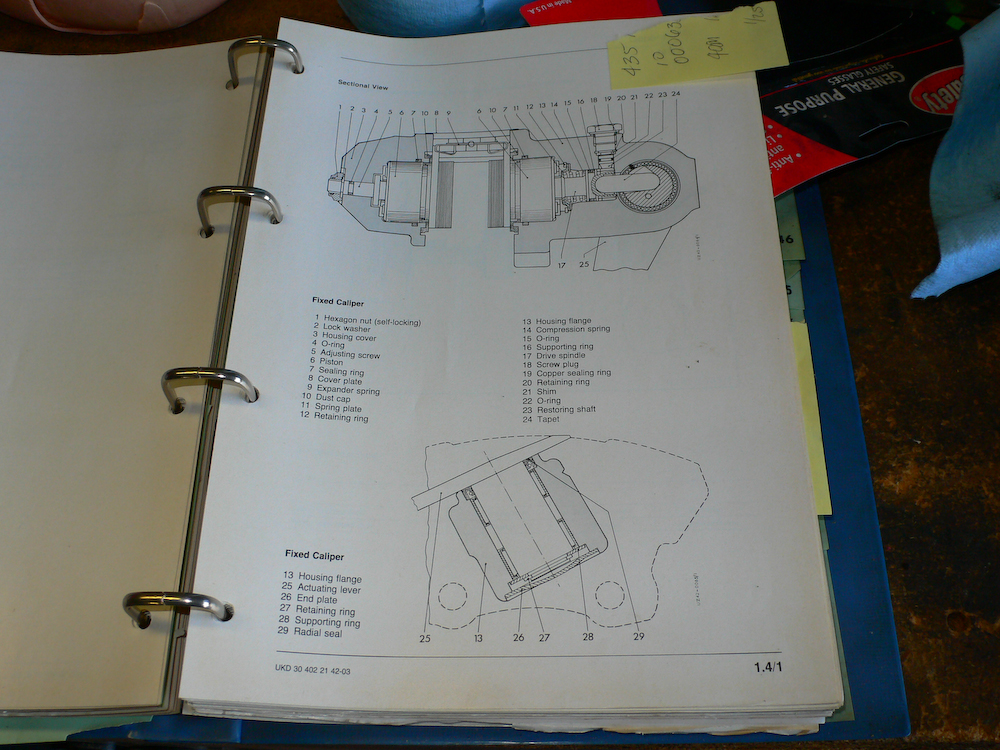
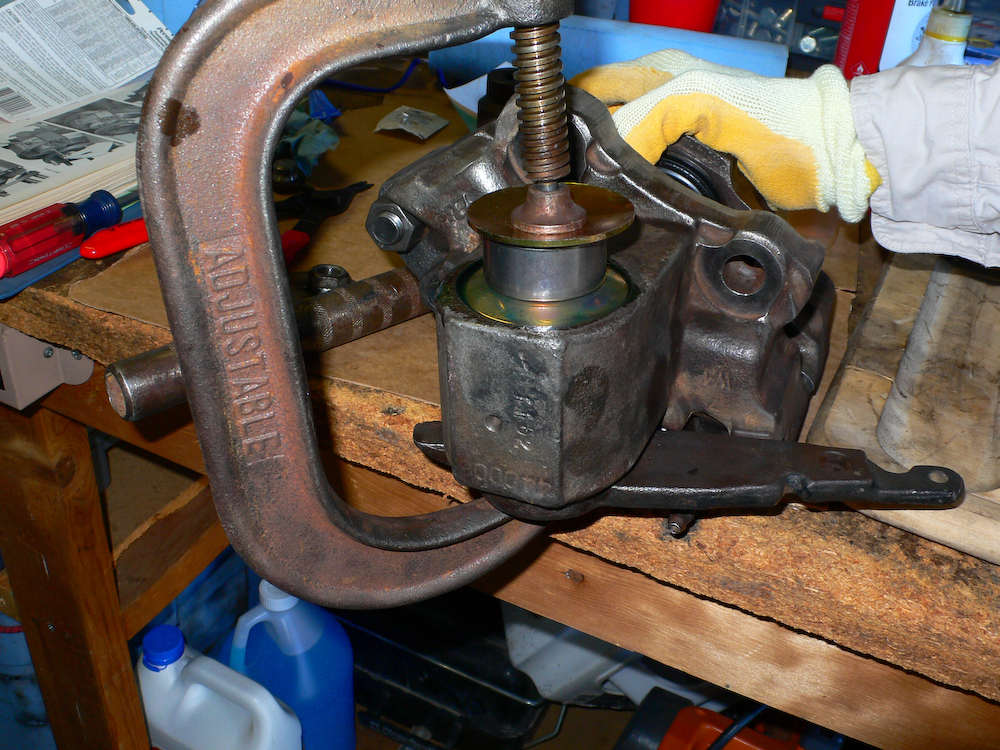
The inside of the brake assembly is quite complex. Sadly, the leaking seal required a complete disassembly of the whole casting to effect a repair. Part number 29 was causing the leak and the whole freakin' thing had to come apart to get to it!
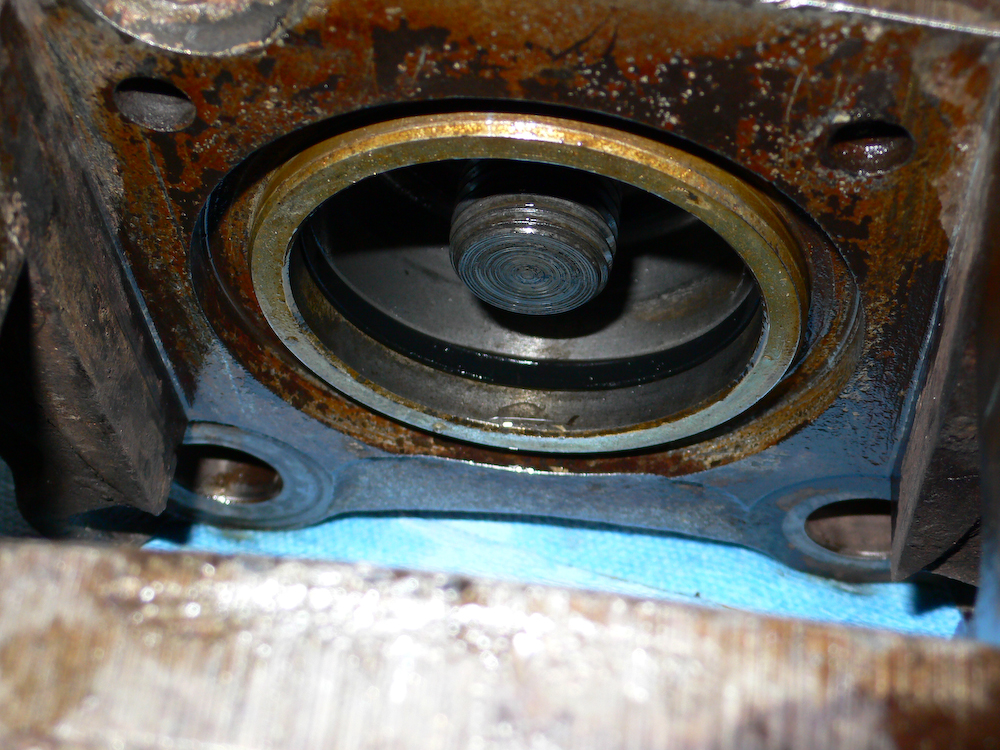
Based on speaking with several fellow owners, I was proceeding under the mistaken assumption that I could effect a repair without cracking apart the halves of the housing. After many tries, it was clear that was impossible. Taking the halves apart requires new bolts and gaskets. The bolts are needed because they are tightened to the point of plastic deformation and are therefore permanently stretched. One more call to Jim Ince and I had what I needed to effect the repair. Visible in the photo above is the cylinder for the brake piston, the piston seal (black ring) and the adjustment screw that positions the piston against the disc.
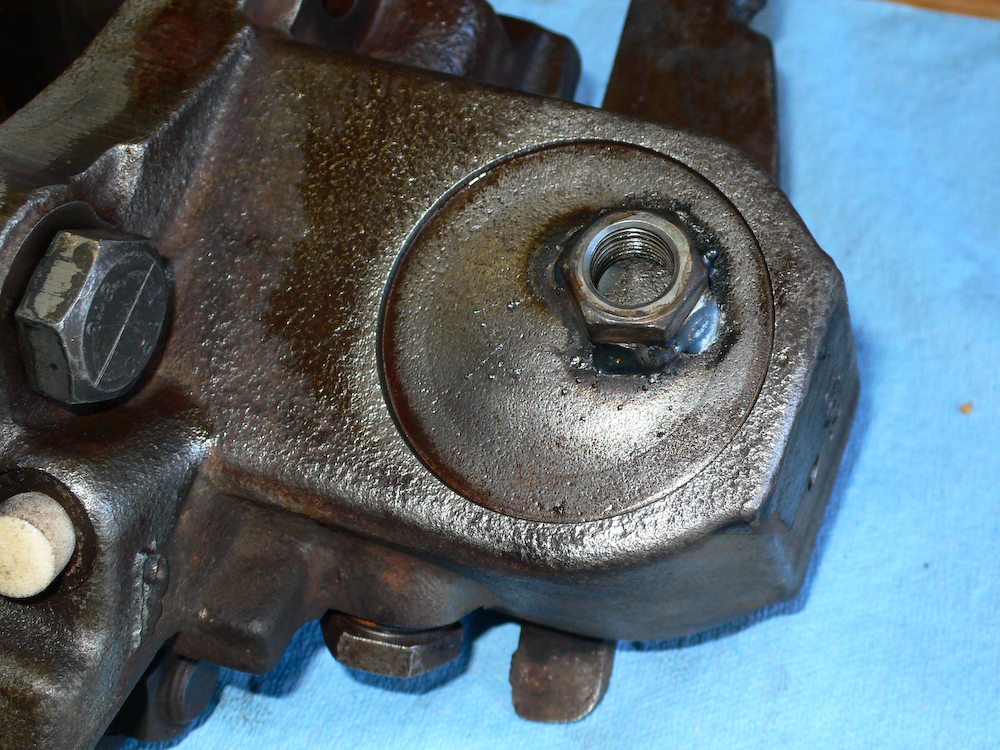
One way point in this process is the removal of the plug that protects the end of the parking brake actuator. The manual called for drilling a hole into the cover, but that would have put debris into the housing. I opted for welding a nut on the plug and then hooked a slide hammer into the nut. It worked easily the first time.
Once the plug is off, the next action is to remove the snap rings and washer that holds the parking brake actuator in place. The snap rings and washers are visible at the top of the photo.
In the end, it was impossible to do what was required without taking the halves of the casting apart. But, extreme torque was required to take the bolts out. Plus, there is a special bit that is required - 14 mm "triple square" . So, to be able to apply sufficient torque to the bolts, I reinstalled the brakes on the axle so I could hit it hard. The technique worked.
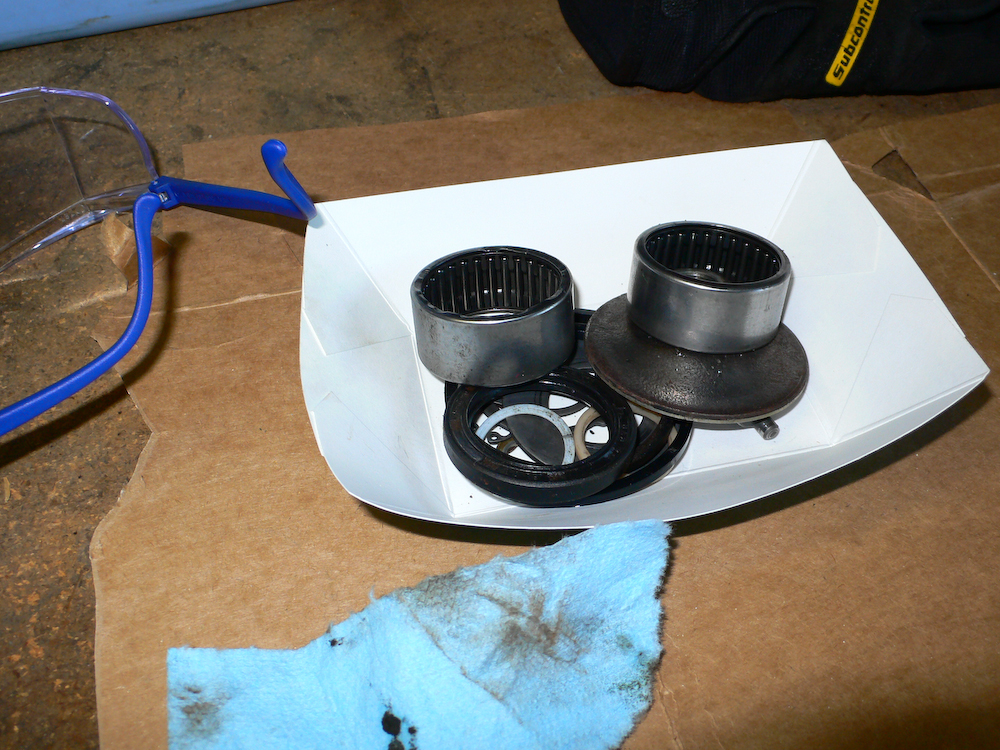
The spent parts from the repair: 2 needle bearings from the parking brake actuation lever, seals, plugs and snap rings. All these parts were in the repair kit.
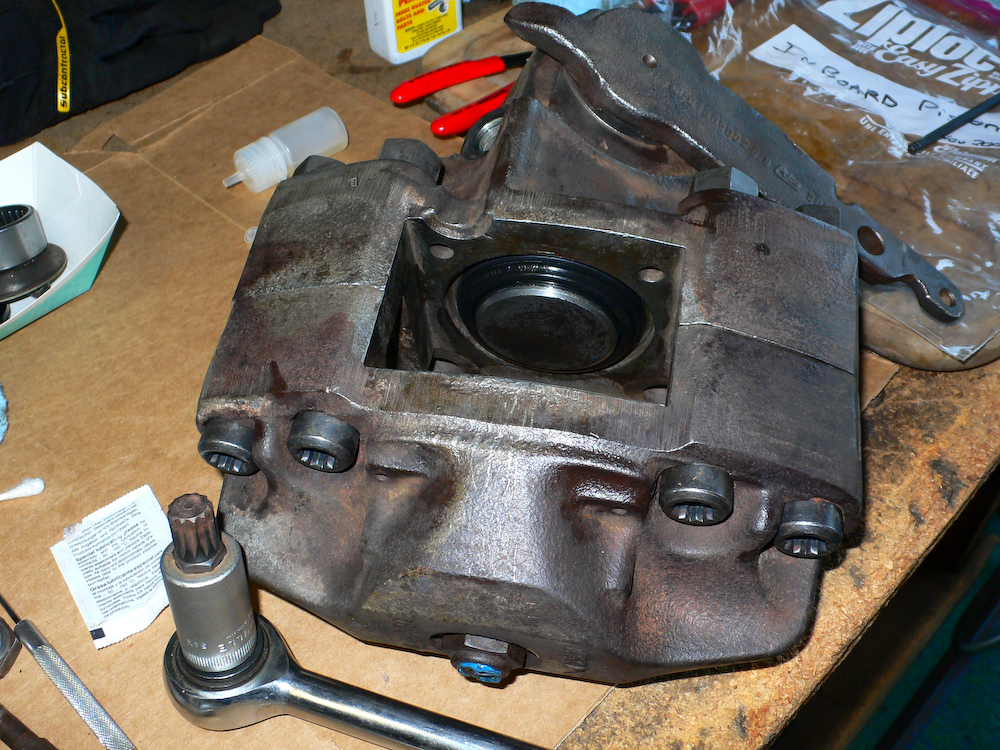
Once the components were replaced, the halves were reassembled and torqued to specification.
Once the halves were together, the brake lever was reinstalled. Then, the cover plug was pressed into the housing. But, the clamp was not beefy enough to fully complete the job.
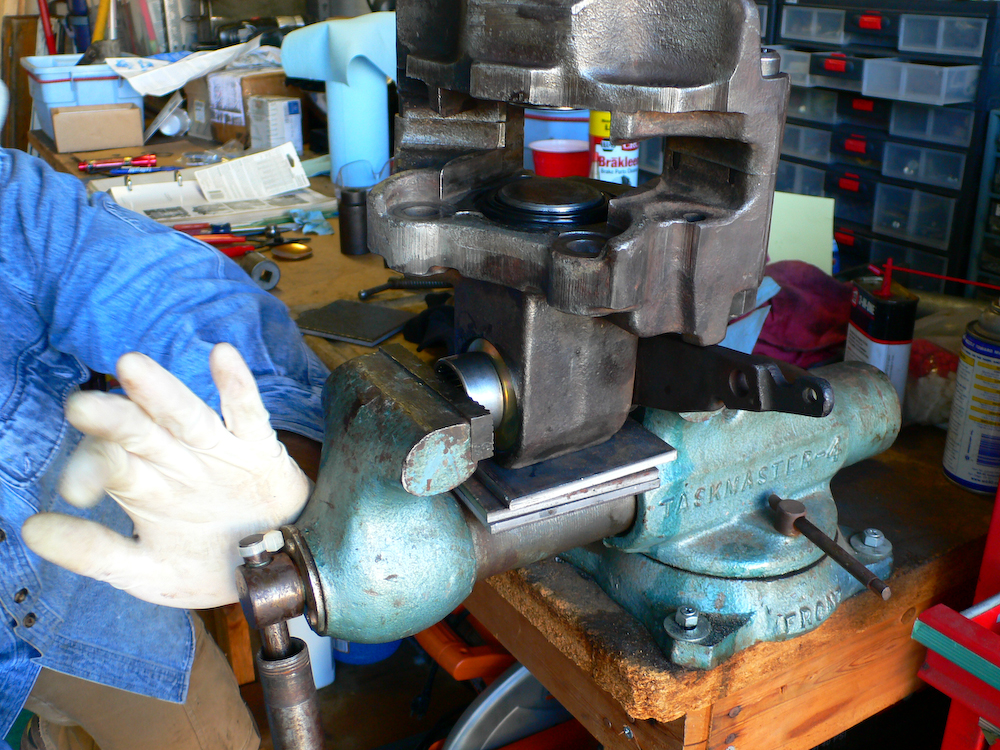
I moved the assembly into the vice and then hit it with a cheater bar to get full seating of the plug.

After the plug was pressed in, the brake pads were reinstalled, the retaining spring was installed and held in place with the pins. Above, the pins that hold in the pads are seated with a punch.
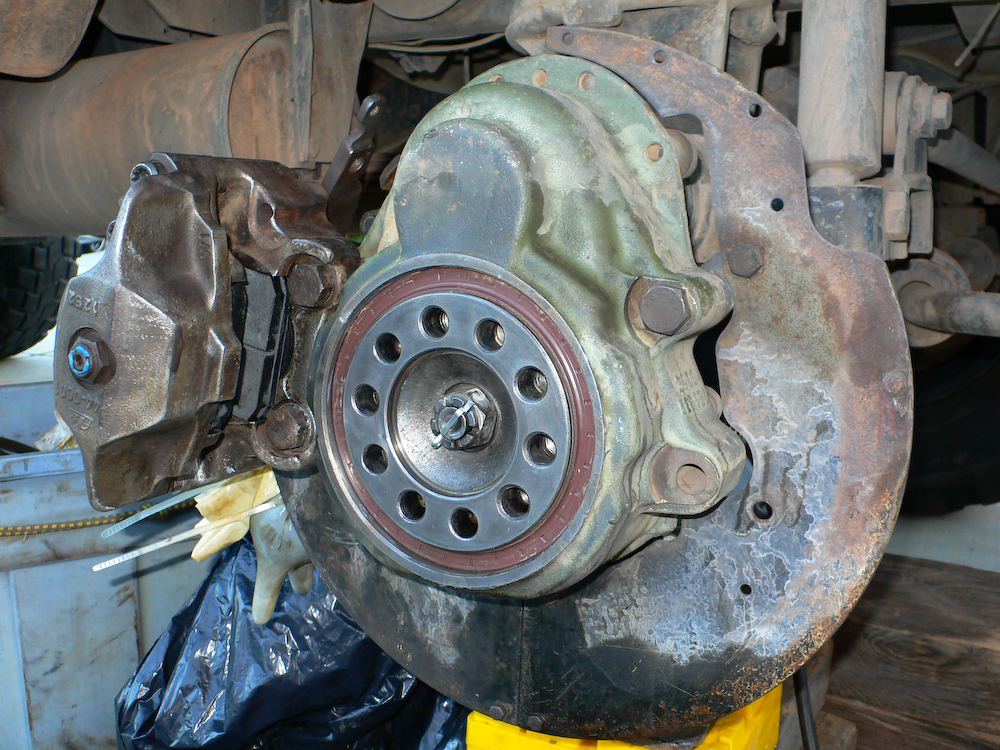
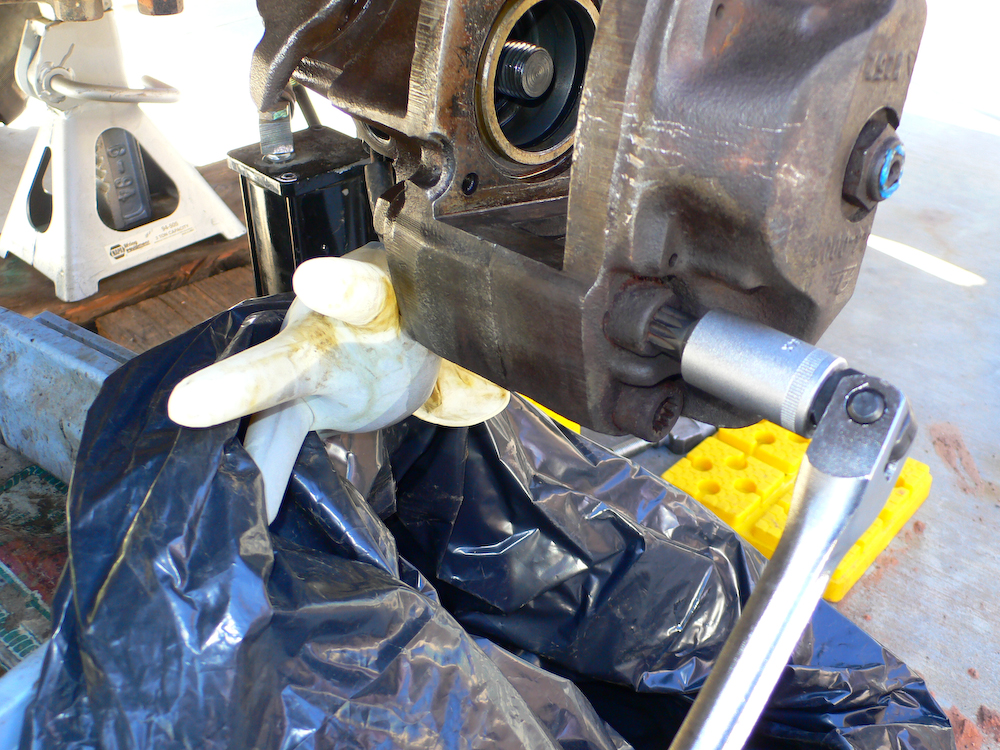
The brake assembly was cleaned and installed on the hub. Note the rubber glove under the assembly - it was the cover for the brake line. Also note the new, clean oil seal on the hub. This was replaced as part of the failed wheel bearings.
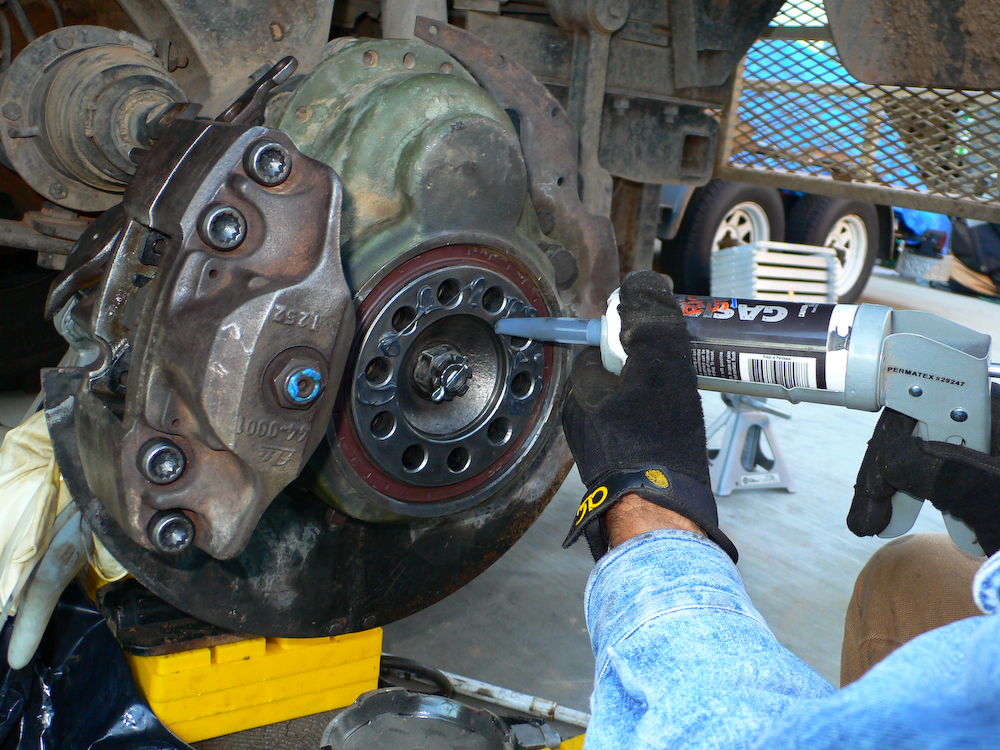
Before the brake disc was reinstalled, I coated the wear ring with Perma-tex gasket sealer to keep the assembly from seeping.
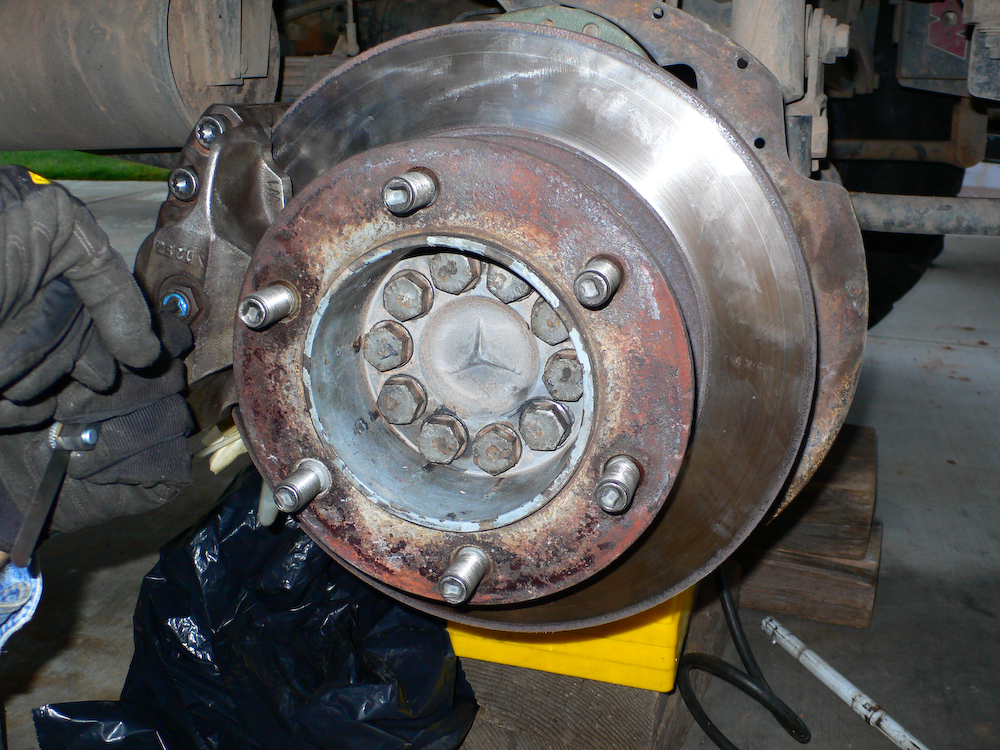
After the disc and hub are reinstalled, the gap on the brake pads were adjusted to specification. Subsequent to the adjustment, the wheel was attached and we moved on to the other side.
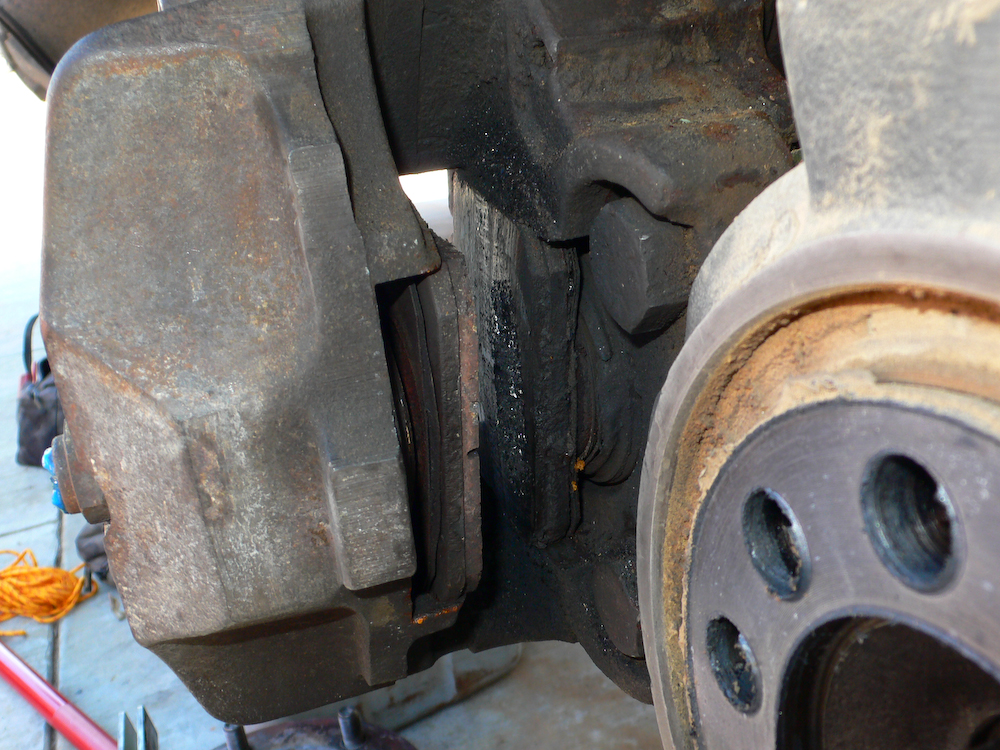
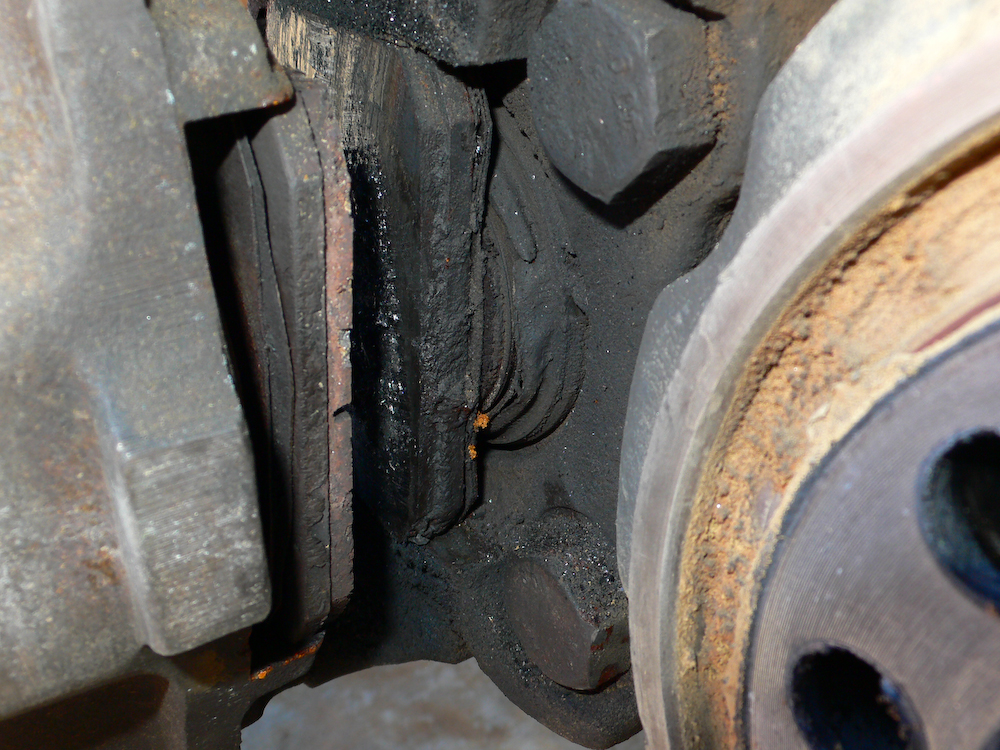
The other side was disassembled and I got a first look at the state of the dust boots - they are toast too.
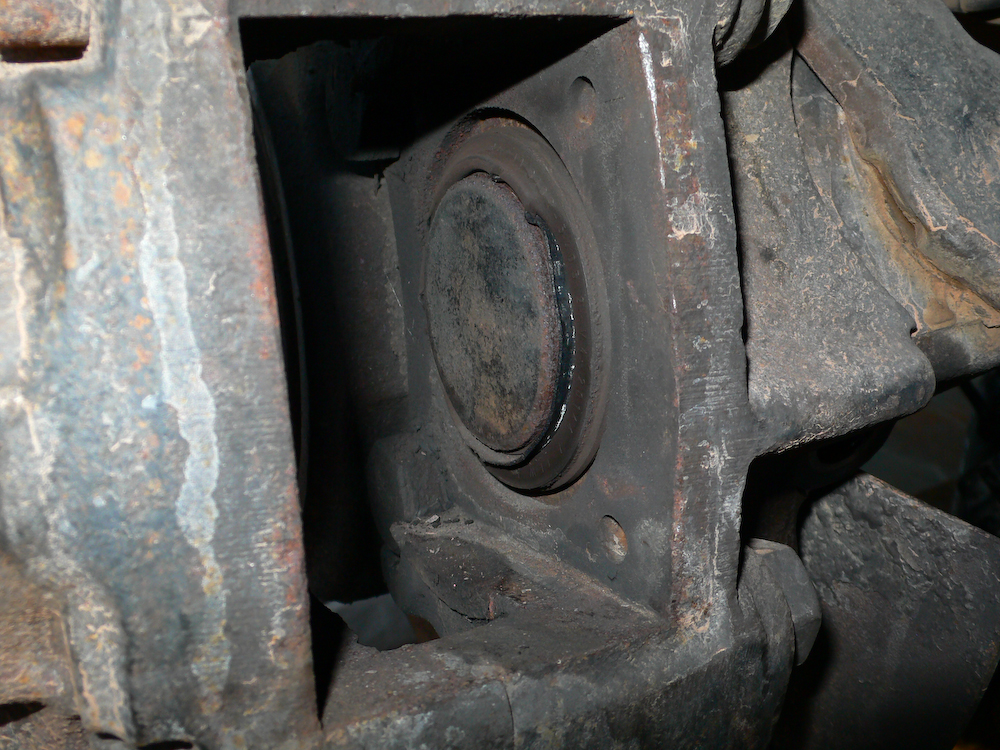
The other boot was damaged as well. The good news was that these could be removed and replaced without removing the caliper assembly. Once I got the big dirt and contamination removed, I removed the pistons and replaced the seals and boots. Then, the calipers were retracted and new brake pads were installed, the disc and hub were reinstalled, and the wheel replaced.
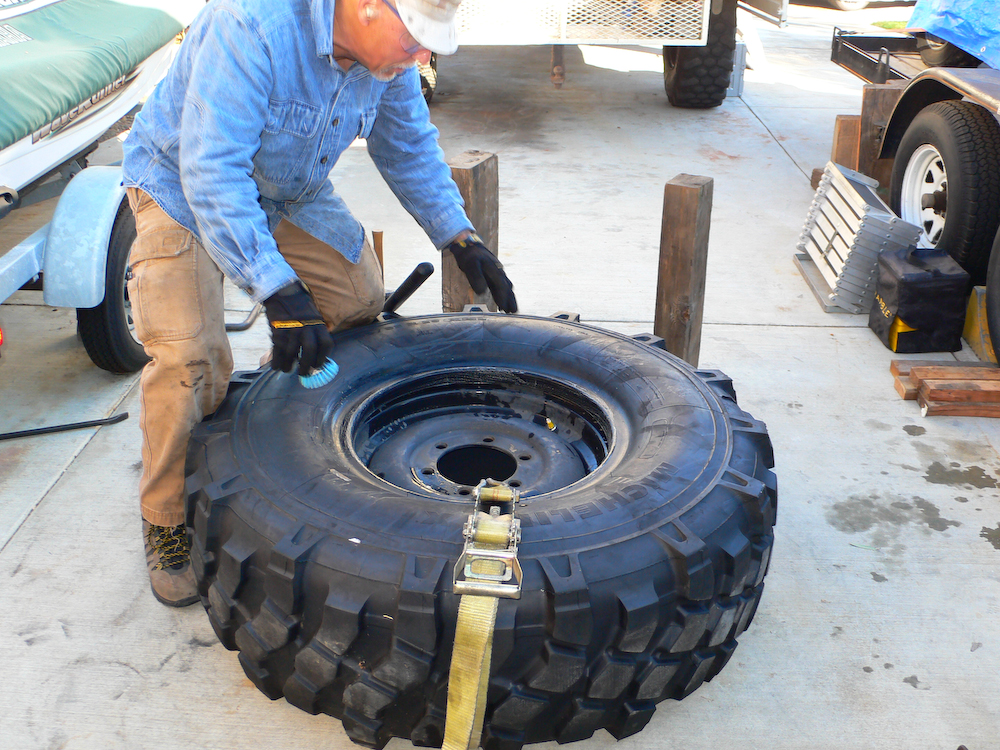
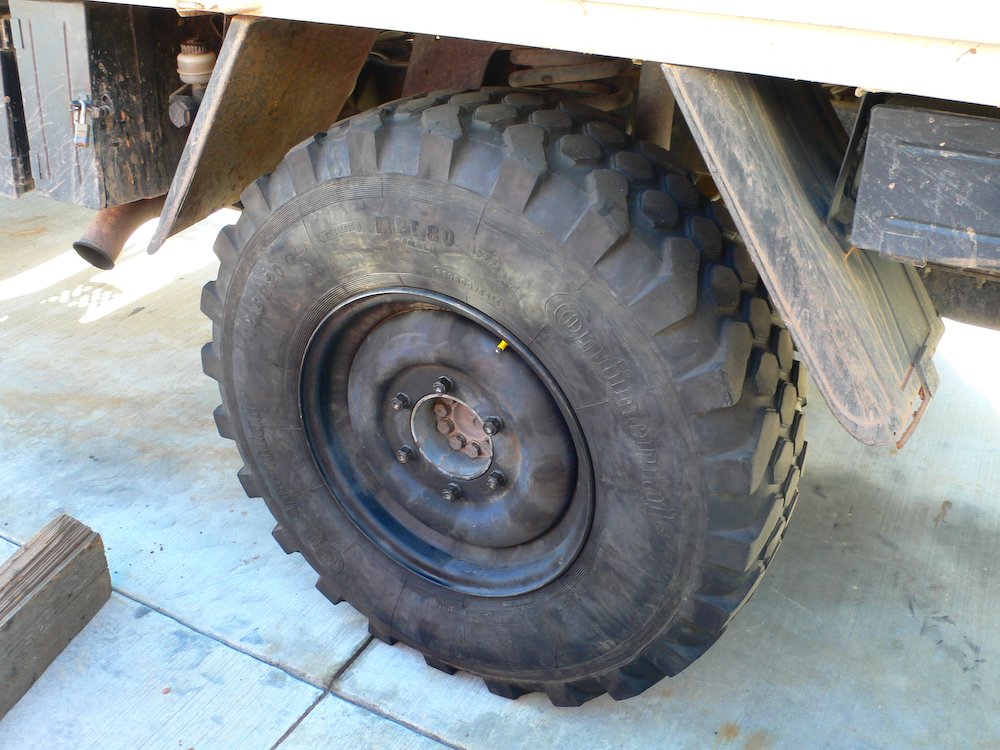
After the brakes were completed and road-tested, it was time to have a tire rodeo. These tires are ex-military 395/85R20 rubber that were only $150 per tire with about 90% tread. Shipping was extra, but I got 4 tires delivered to my door for less that $1K. This was in contrast to the $1K per tire for new XM-47s. Above, we get ready to get the second side of the tire on the rim using dish soap as the lubricant. The ratchet strap was used to keep the tire from slipping around
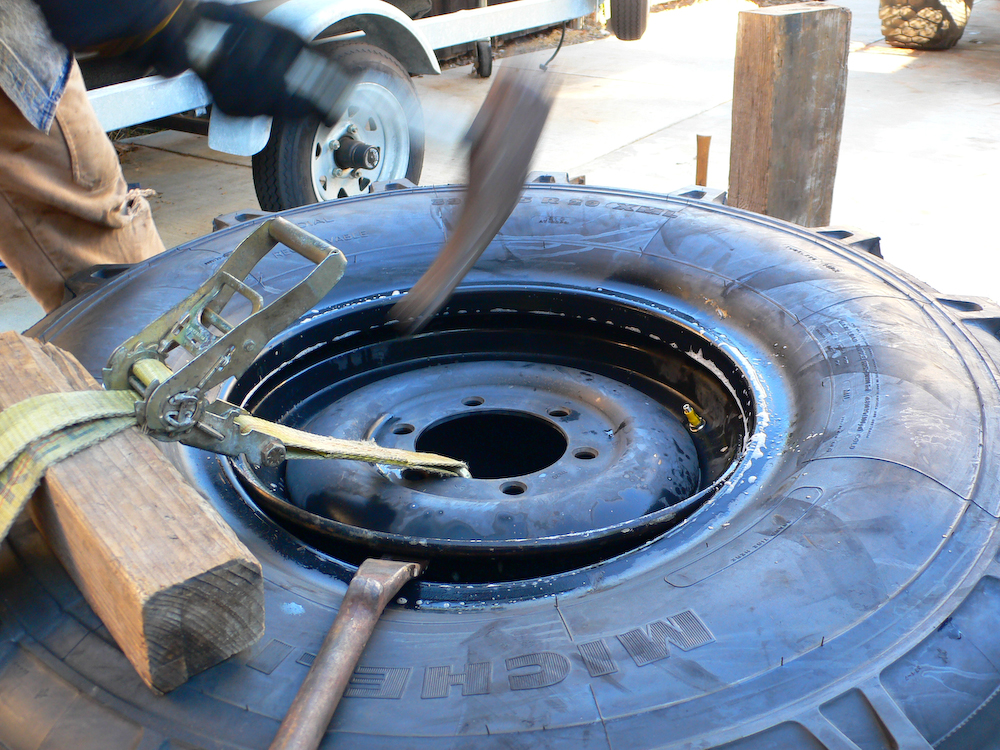
Strikes with the duck-billed tire sledge-hammer were required to get the tire seated. Once the tires were on the rim, ether and a match were used to seat the bead. These tires "want" a 10" rim and the 1300L rims are 11". They will work, but only if the air pressure is kept at 1 bar or above. Below that, the tires have a tendency to de-bead and fall off the rim.
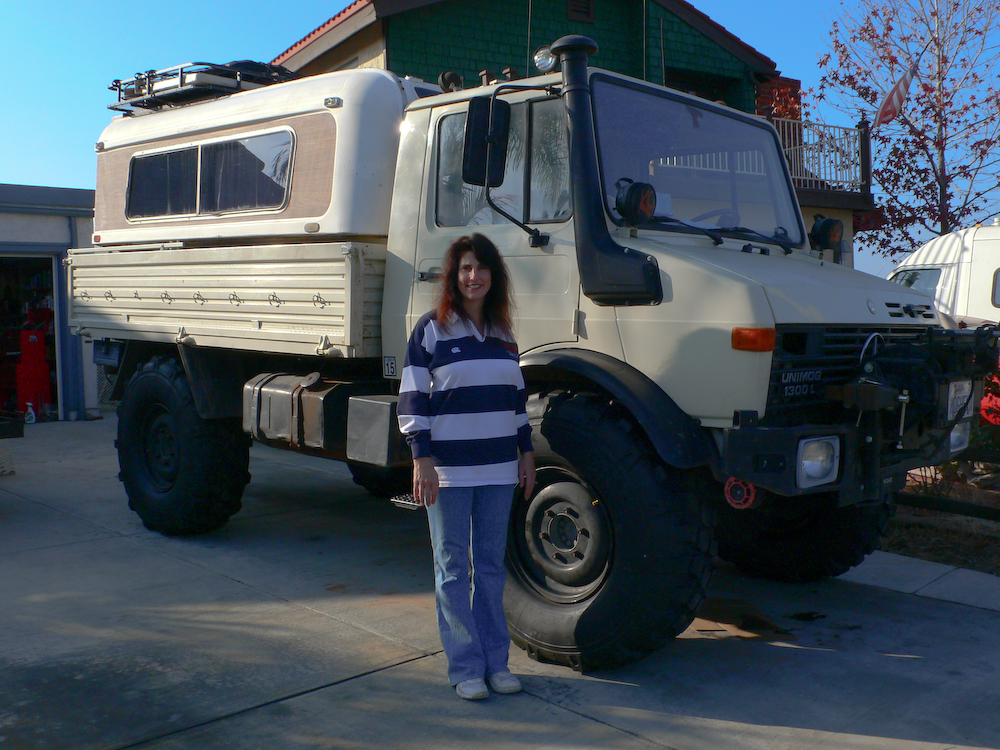
The finished product. Two sets of brakes, removing 4 tires and mounting 4 bigger tires. Not a small amount of work. Above, Kathleen stands next to the truck so you can judge the height of the full assembly.
This was a ton of work that spanned several weeks, including the tire delivery and brake parts staging. The brakes were somewhat complex, but the manual was quite explicit about what needed to be done. The tires, however, were another story all together. We cracked a sweat on EVERY one of these. Personally, it is much harder to get tires off than putting them back on. There is no substitute for a strong back on these actions.