This
part of the fabrication experience was filled with detailed design and
careful construction. We completed the spare tire rack, generator
mounts, can rack and a host of other important, but small tasks.
The photos below are what we saw.
We
managed to melt an air line with our welding. The truck sat in
the shop for several days until we got around to fixing it. But,
Rob had the right parts and once the leak was located, the fix only
took 5 minutes. Once the truck was rolling, we took it to the
local scale to get a weight: about 11,500 pounds naked.
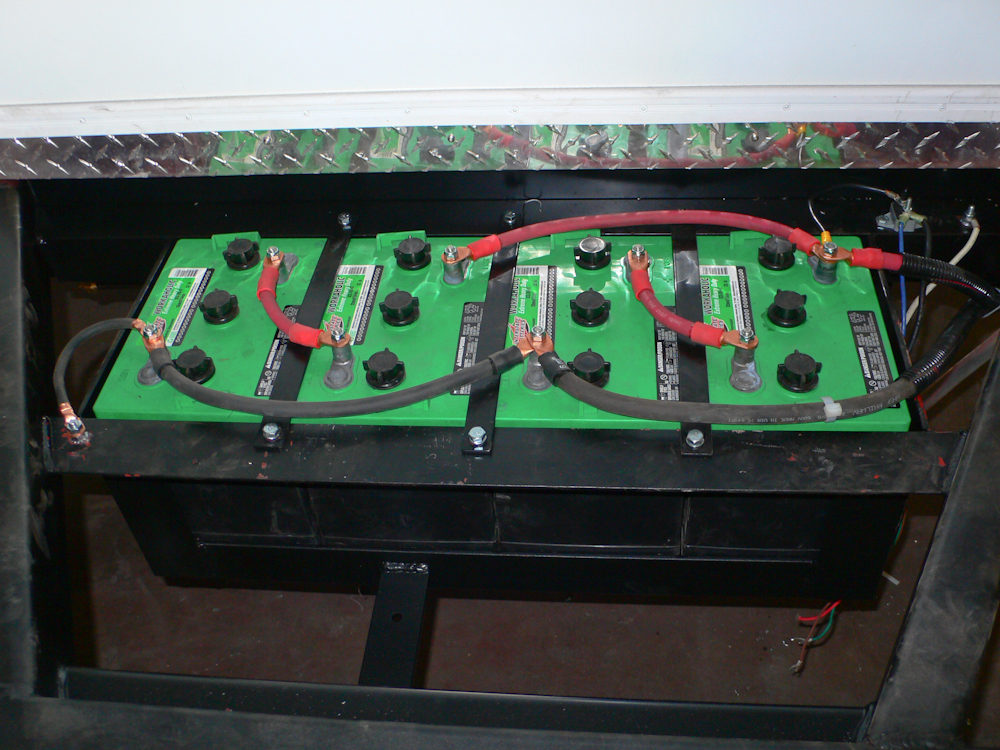
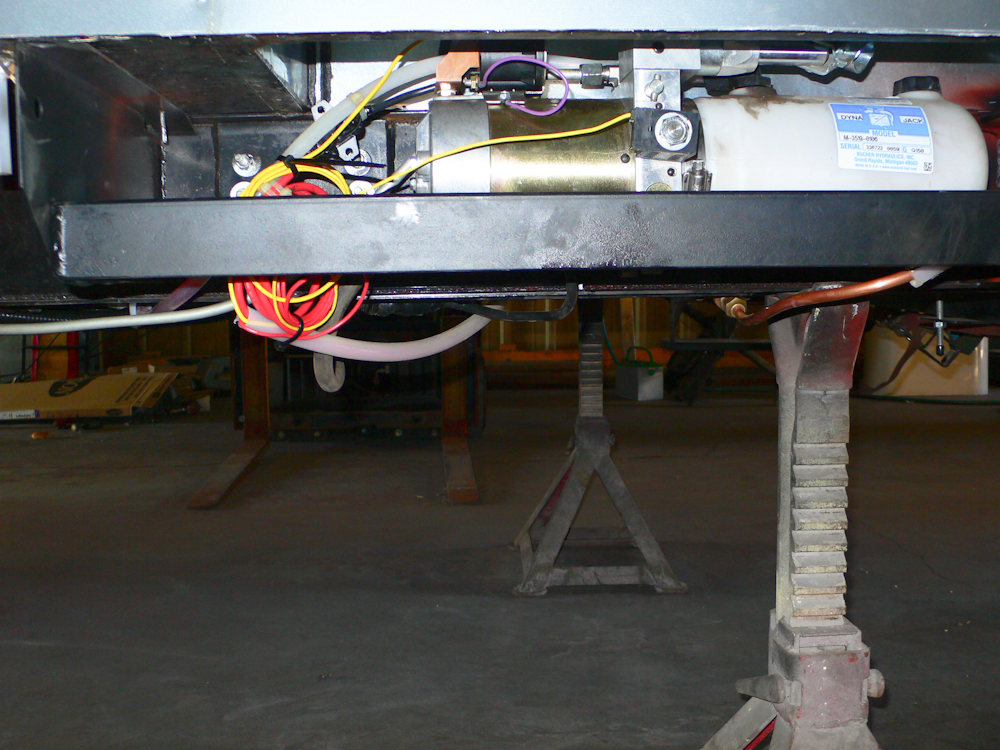
The
roof lift pump was wired with 2-0 cable due to the current draw and the
long run from the battery array.

Once
the wiring actions were completed, we lifted the house back onto the
truck.
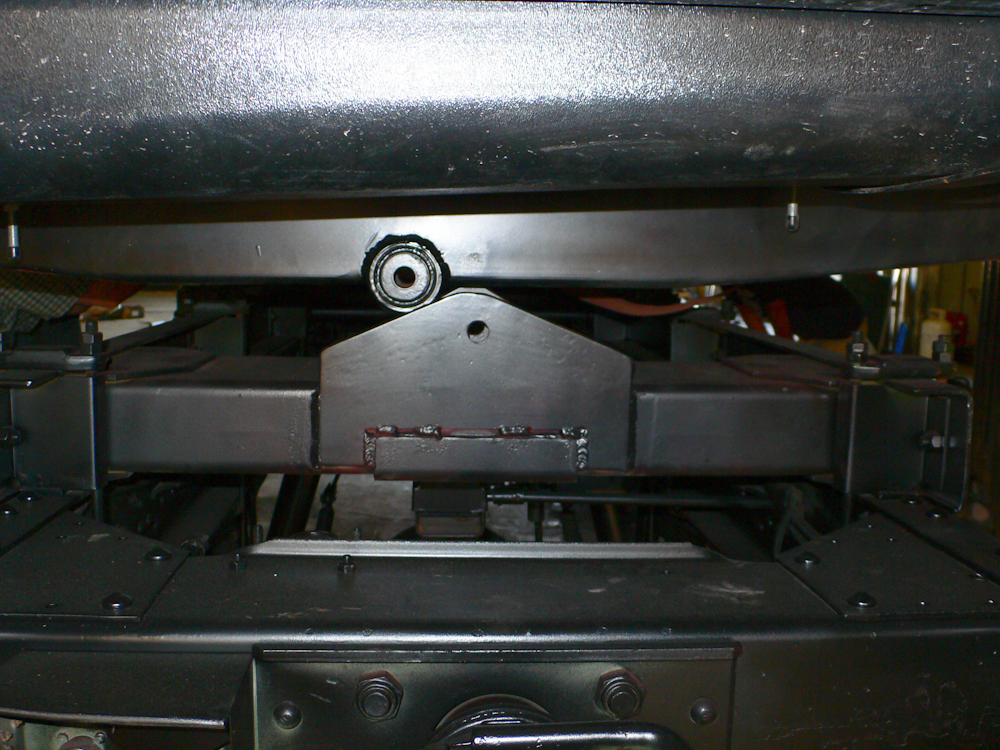
The
fit was tight, but it was supposed to be that way. It took us 15
minutes of shifting things around until it was correctly alligned.
The
massive front mount was a bit harder due to get alligned, but diligence
won in the end.
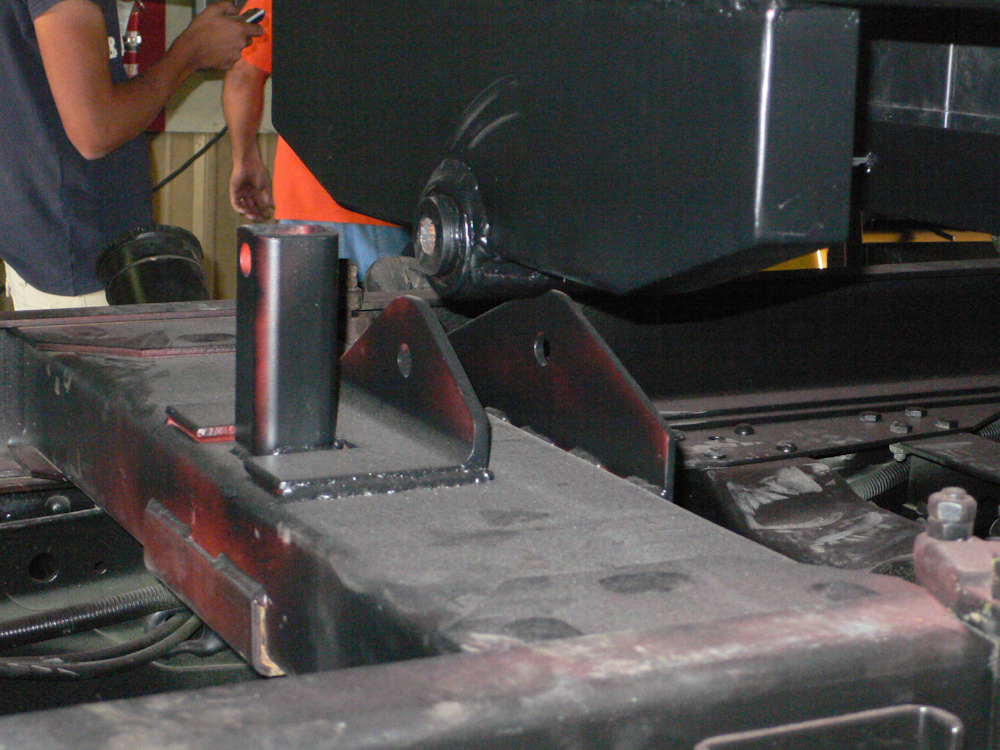
Once
the house was on the frame and the frame was squared up, we prepared to
weld the shims into place. In the photo above, the shims are the
3/8" bar stock that is not painted.
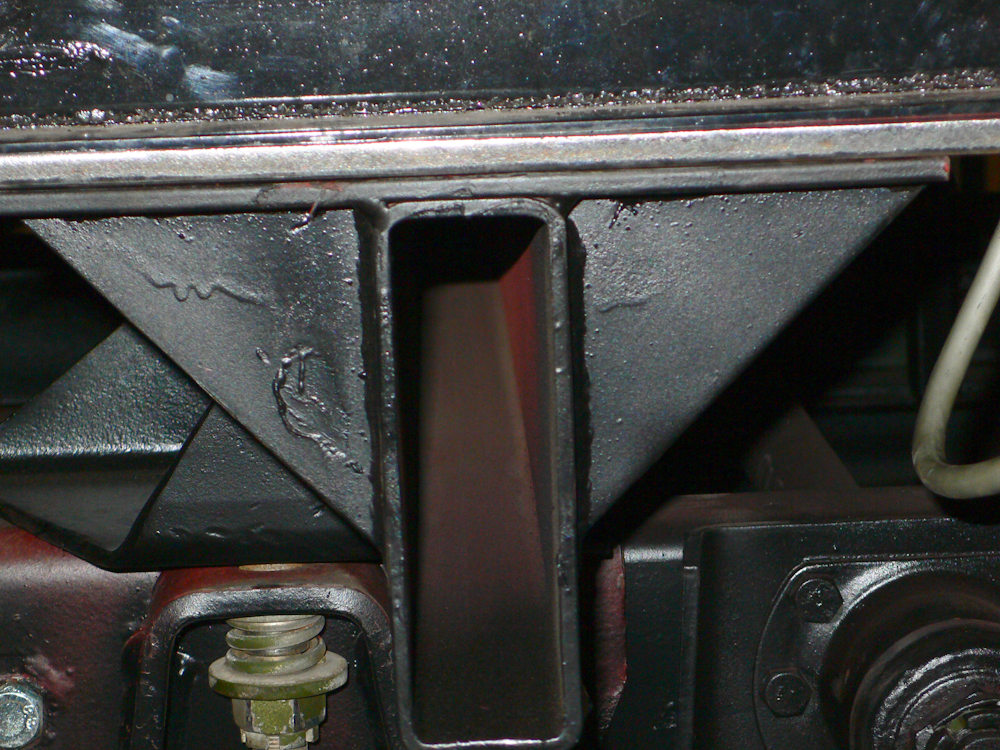
The
house is now fully seated on the frame and all parts are alligned and
awaiting final welding.


The
first stop was for fuel. The tank was bone dry, but we knew that
the tank would be replaced in a few days, so I only got 5
gallons. We took the rig for a 20 mile drive south of La Junta
and things worked fine. At the end of the drive, the window
regulator broke, but Rob was able to repair it.
Back
in the shop, we continued work on the tire rack, can carrier and
generator mount. In the photo above, the generator will sit in
the "cups" on the top of the can rack.
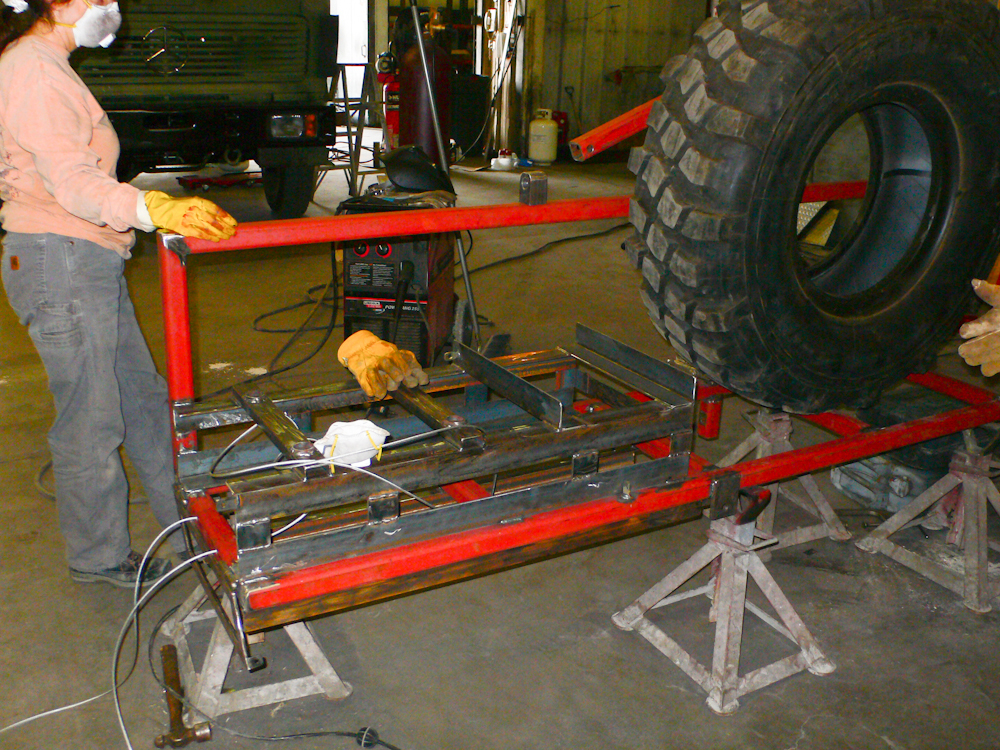
As a
sanity check, we placed a full sized 395/85R20 tire on the rack to
insure that things were going according to plan. Above, you can
see the can rack and access ladder holding frame. The cables are
used to extract cans from the horizontal rack which holds 3 cans.
The rack on the top holds 3 more cans, but the cans sit vertically.
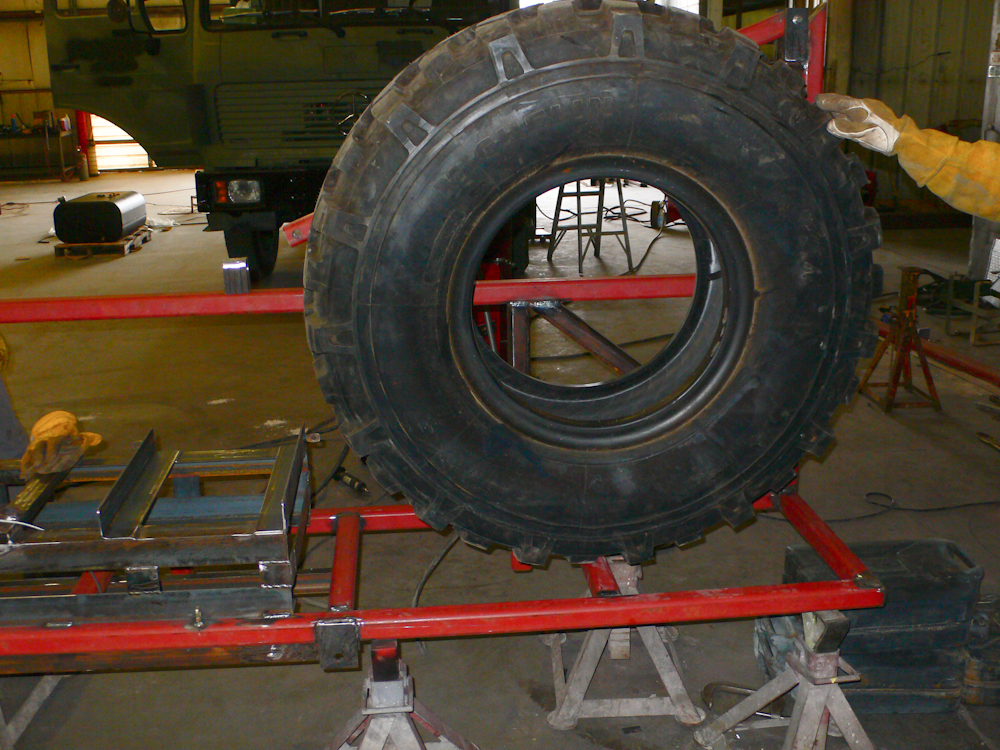
The
tire fits per the design, so I was pleased. The tire crane mast
was added to the rack as was the crane boom and support stops.
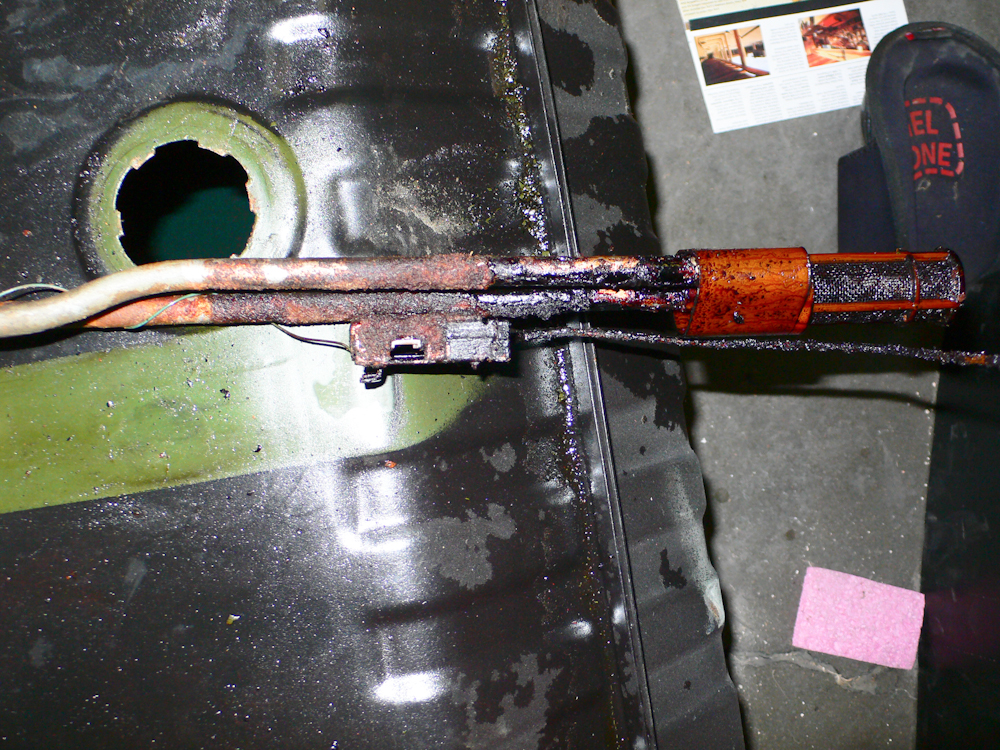
The
old 30 gallon fuel tank was removed and the sending unit was
inspected. Yuck!! Note the crud on the pipes.
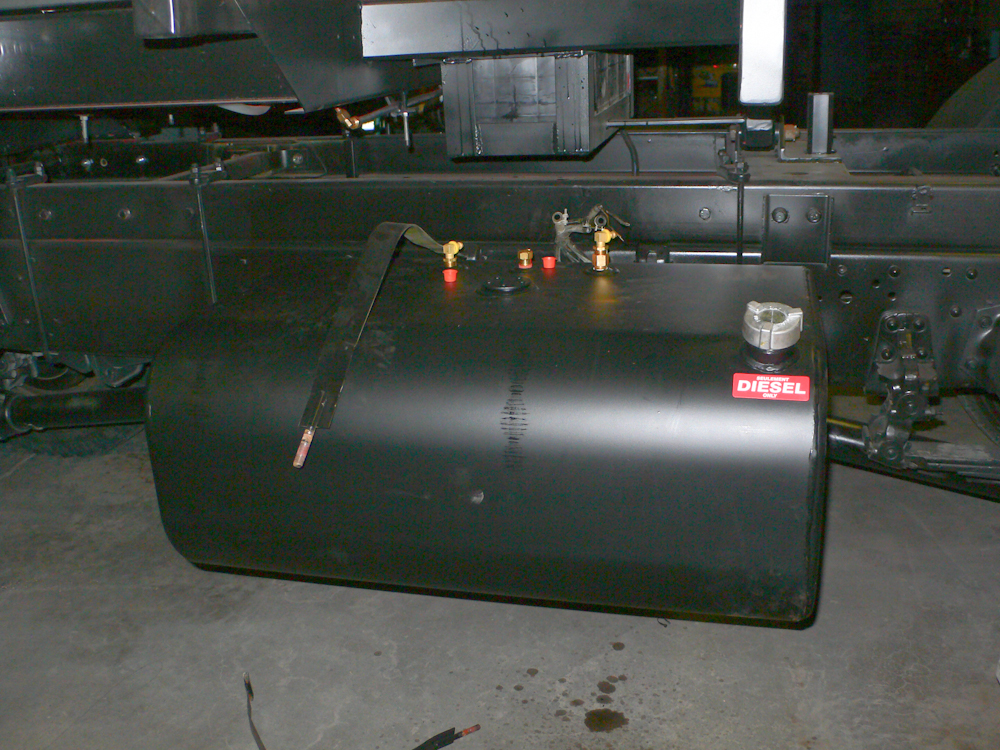
The
old 30 gallon tank was replaced with a brand new 58 gallon tank from
ProPower in Windsor, Canada. The dimensions were perfect, so we
were all pleased.
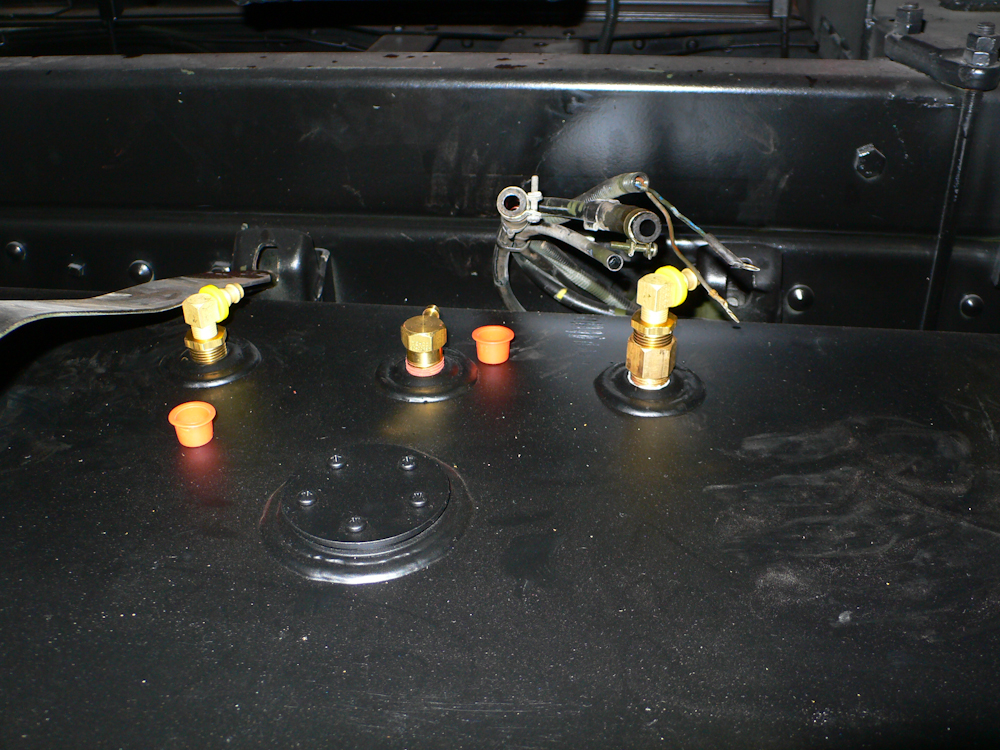
Some
new plumbing was required as was a new sending unit. That was
actually good news as the old unit look nearly unclean-able.
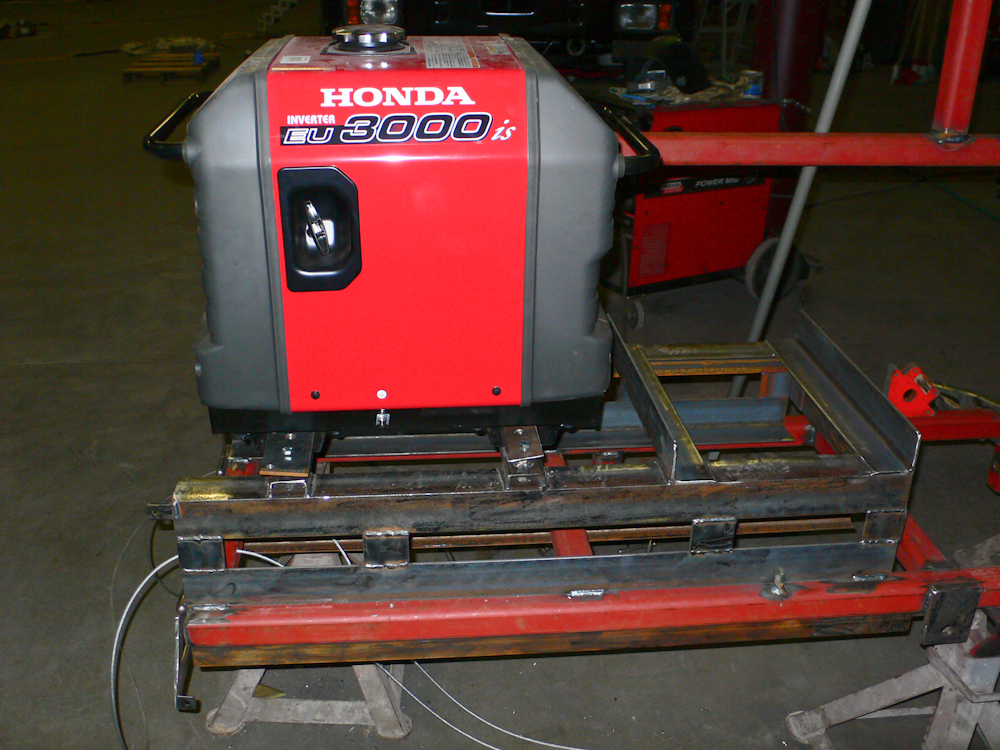
The
new Honda EU3000 generator was placed on the rack as a sanity
check. Once the fit was confirmed, tie down straps were
fabricated to insure that the generator stays put when wheeling.
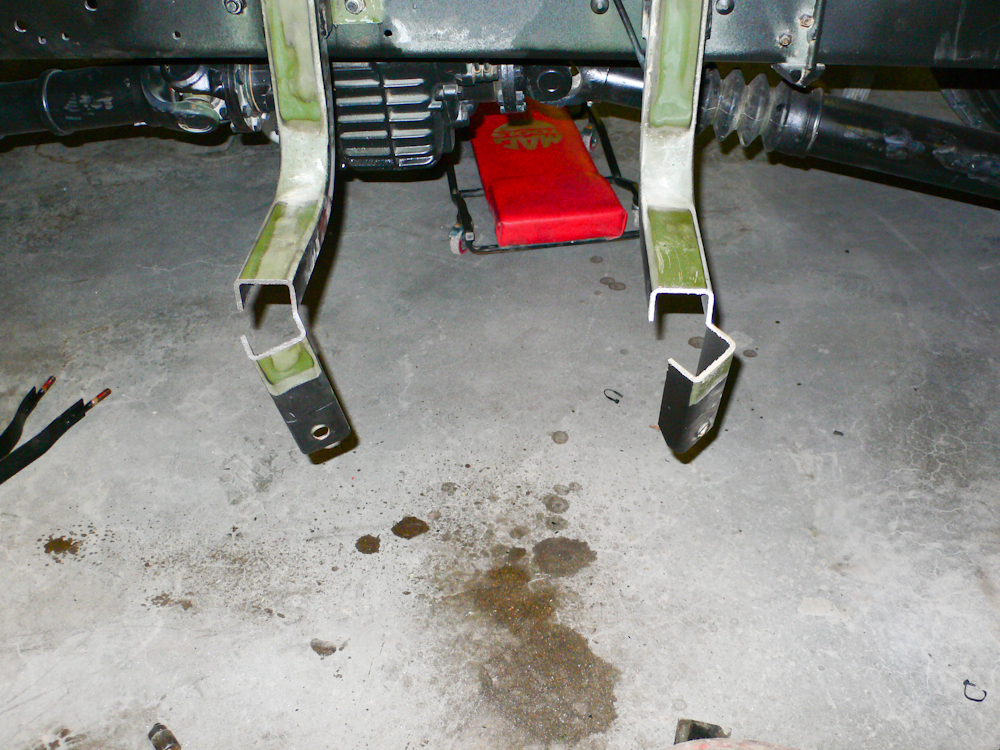
The
old fuel tank mounts needed to be extended to handle the extra width of
the new, high-capacity tank. Rob used his hand-held band saw to
cut the old frame.
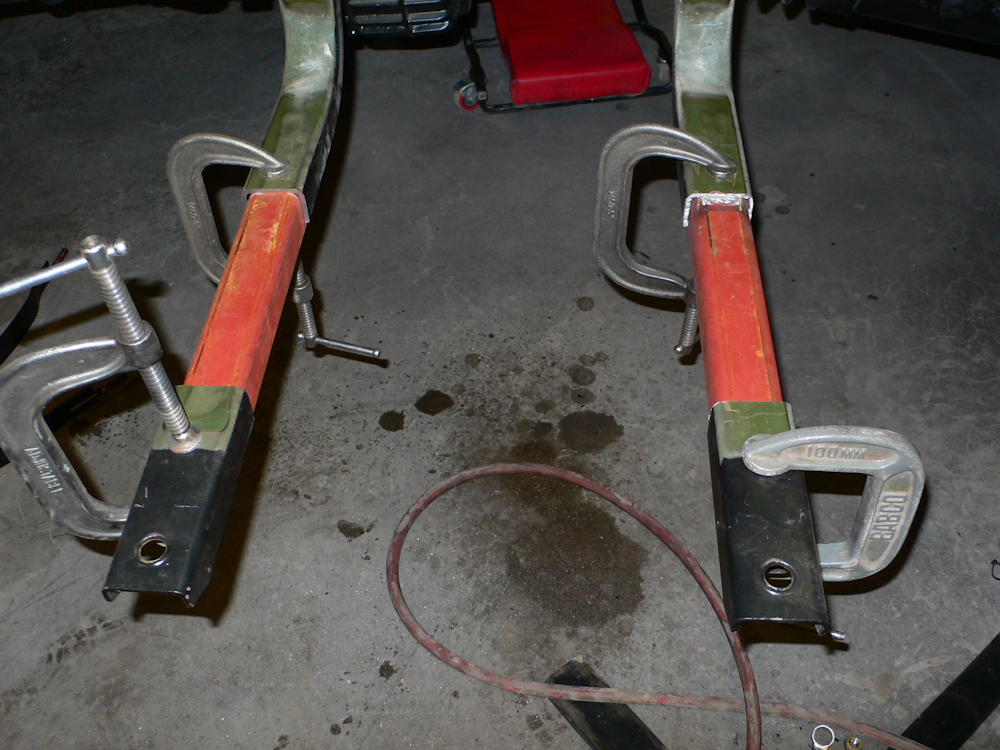
The
existing ends of the frame were extended using thick-wall 2x2" steel
tubing. Straps were welded on top to insure that the height of
the rails were constant for the entire length.
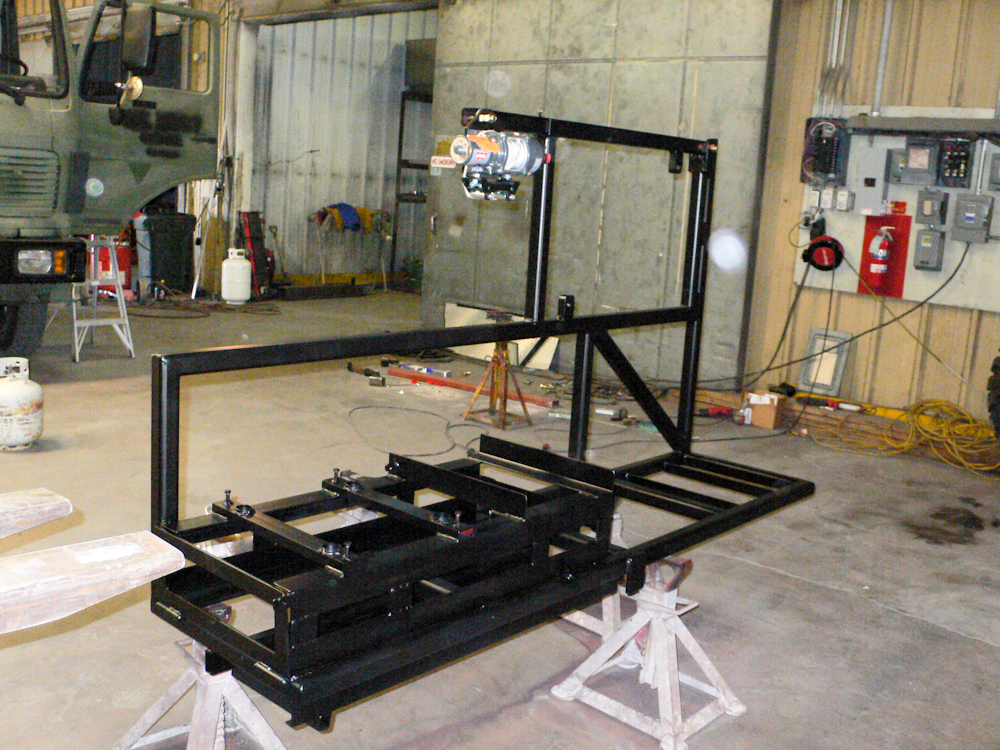
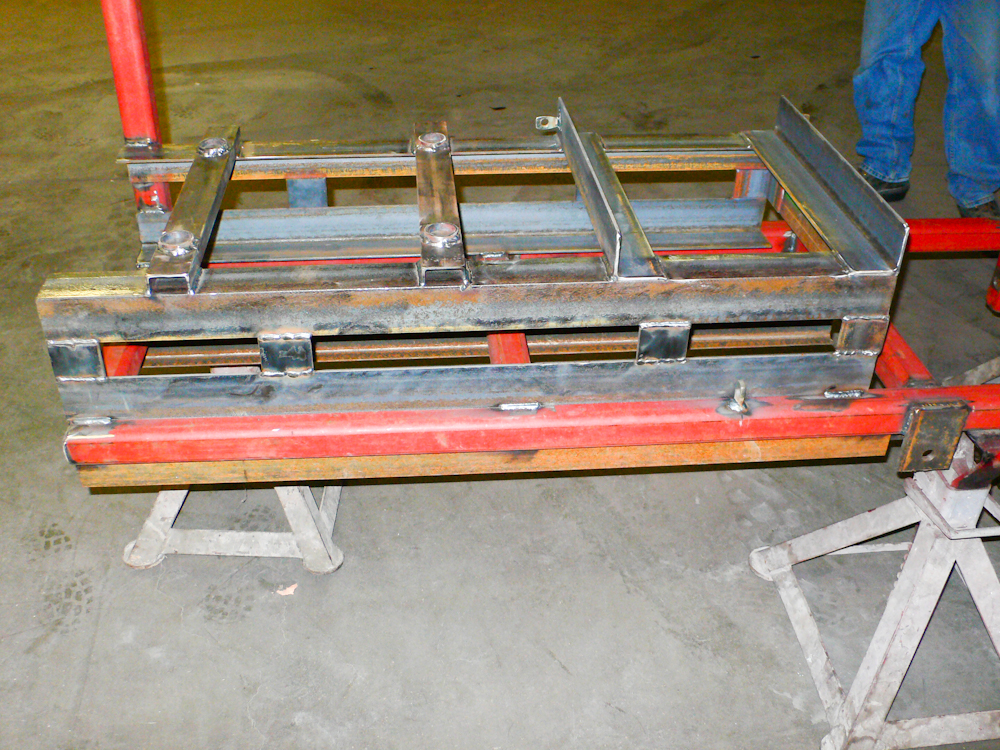
The
final rack was painted, the boom was added and the tire lift winch was
installed. We stayed up until midnight painting the frame to hold
our schedule.

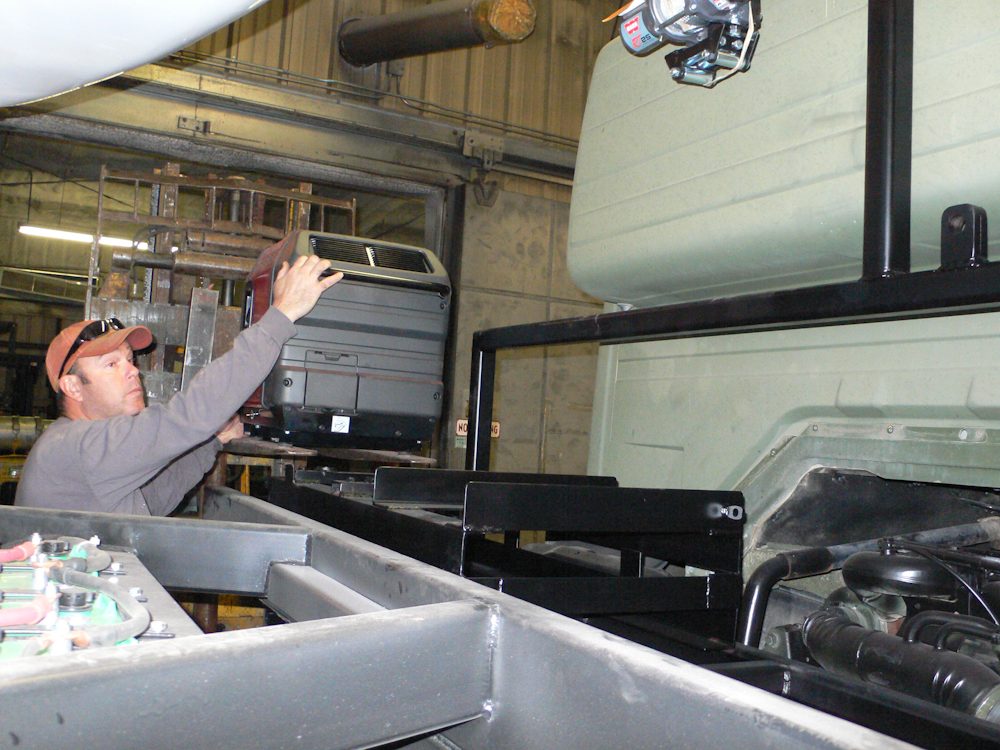
The
finished tire rack was carefully lifted aboard the truck. Above,
Rob's buddy Kelly helps out.

This
was a tight fit and some careful forklift driving was required to get
the rack in place.
Once
the rack was in place and bolted down, the generator was installed into
the mounting cups and the tie down straps were installed.
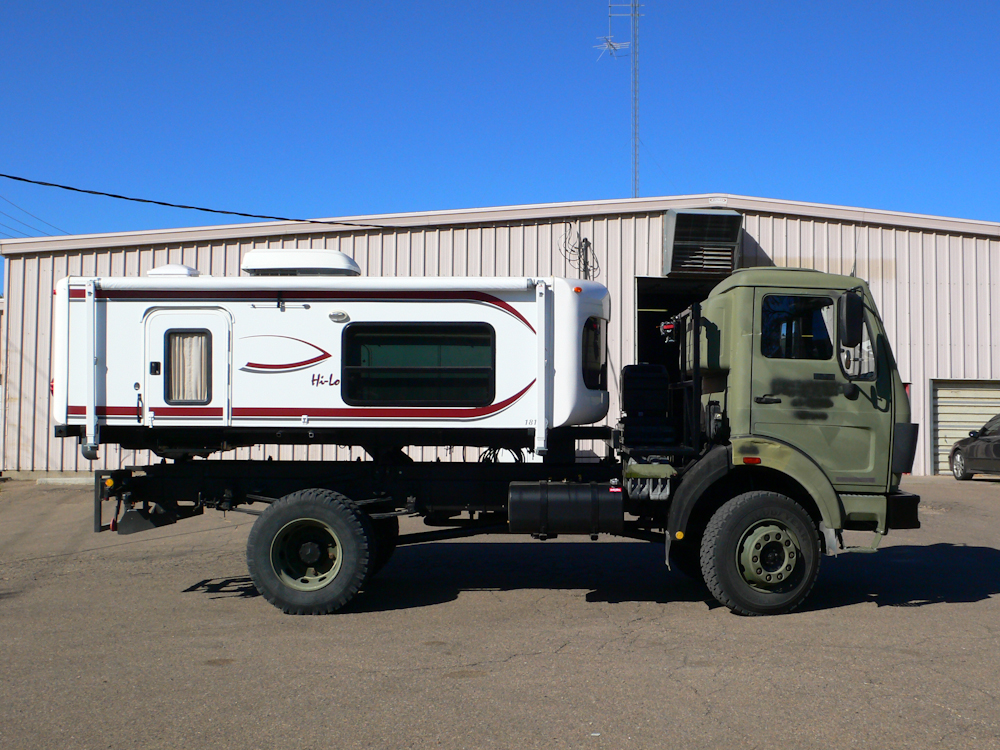
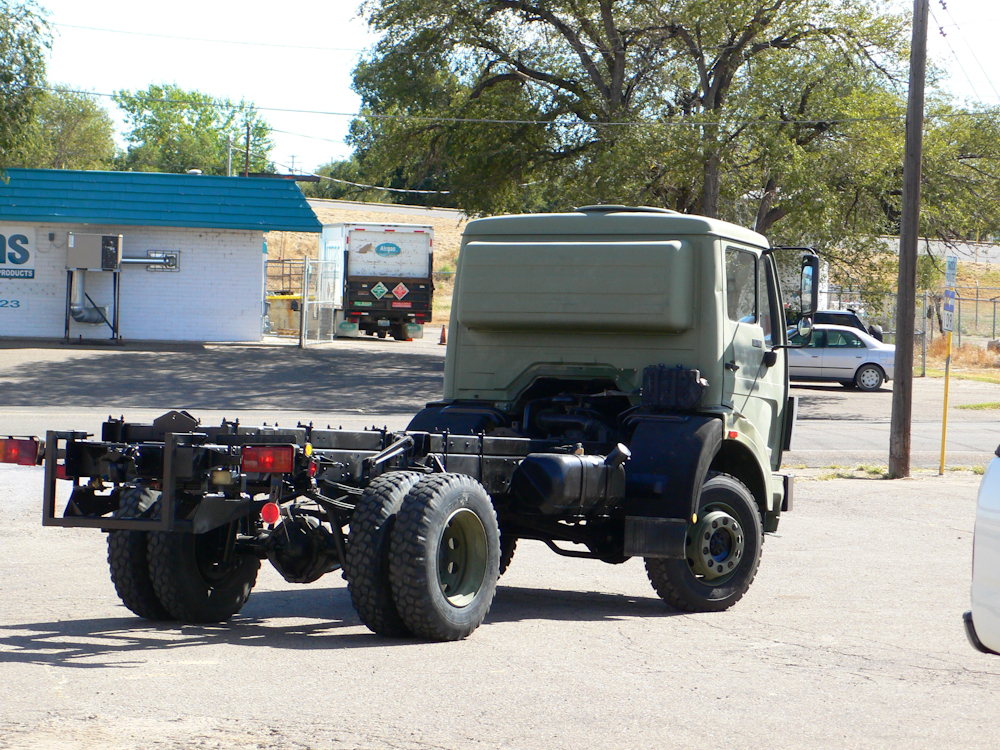
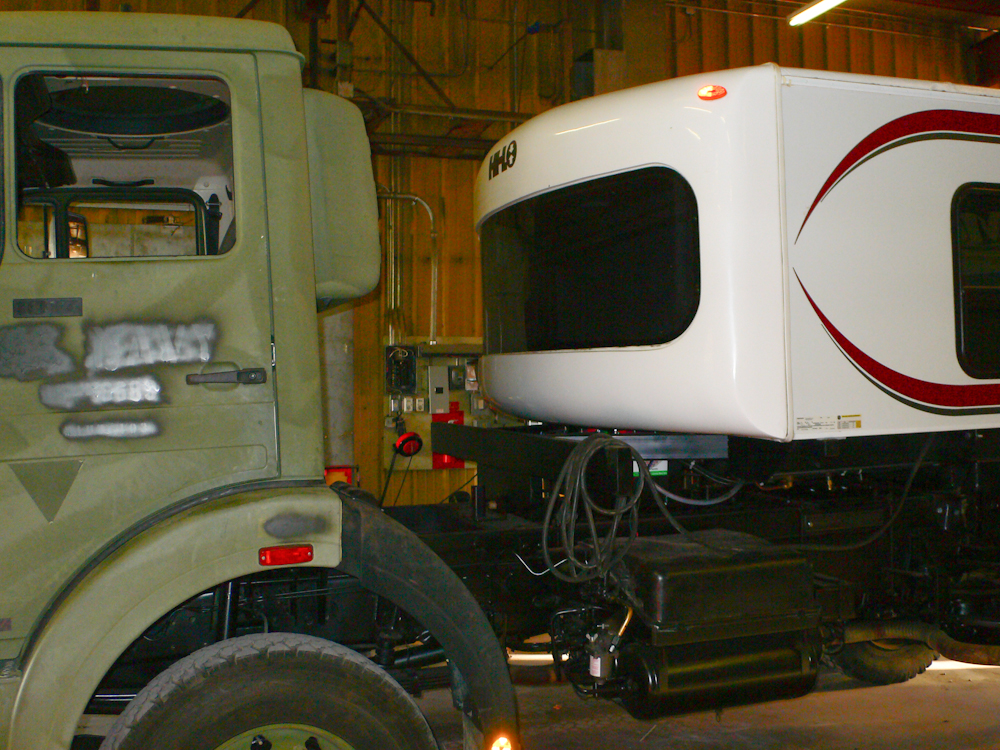
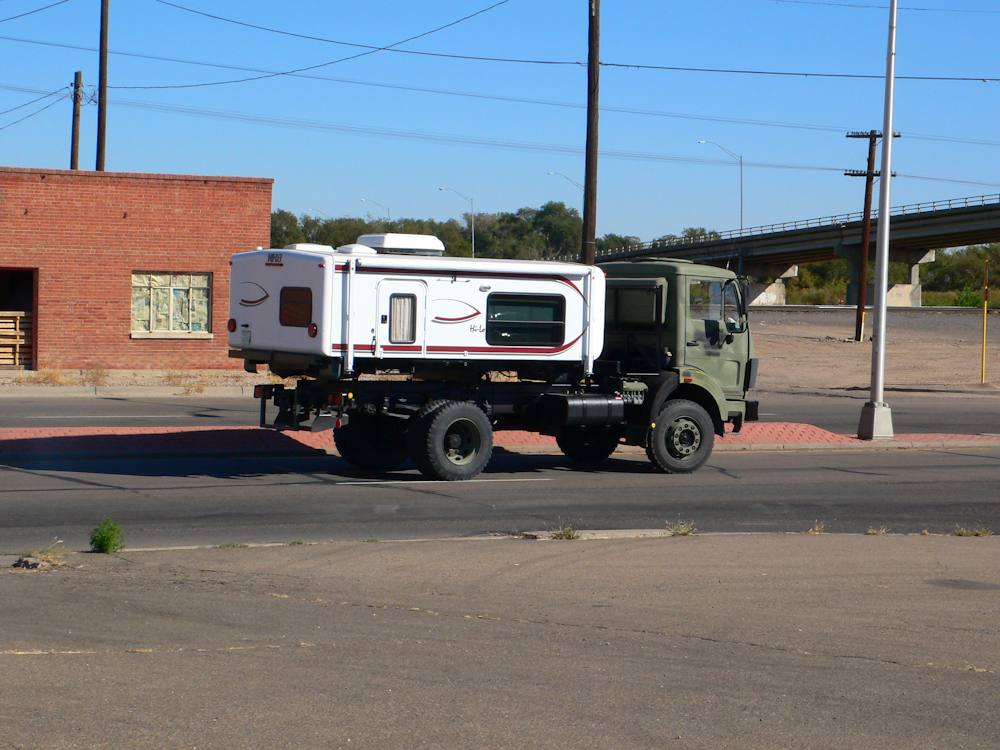
The
finished truck, ready for a run to the hardware store for parts.
The tire rack is hidden in the shadow of the camper. Note that
the area under the camper will be completed in San Diego. That
area will have a number of tool boxes and storage compartments.
In addition, the propane rack will be fabricated and installed.
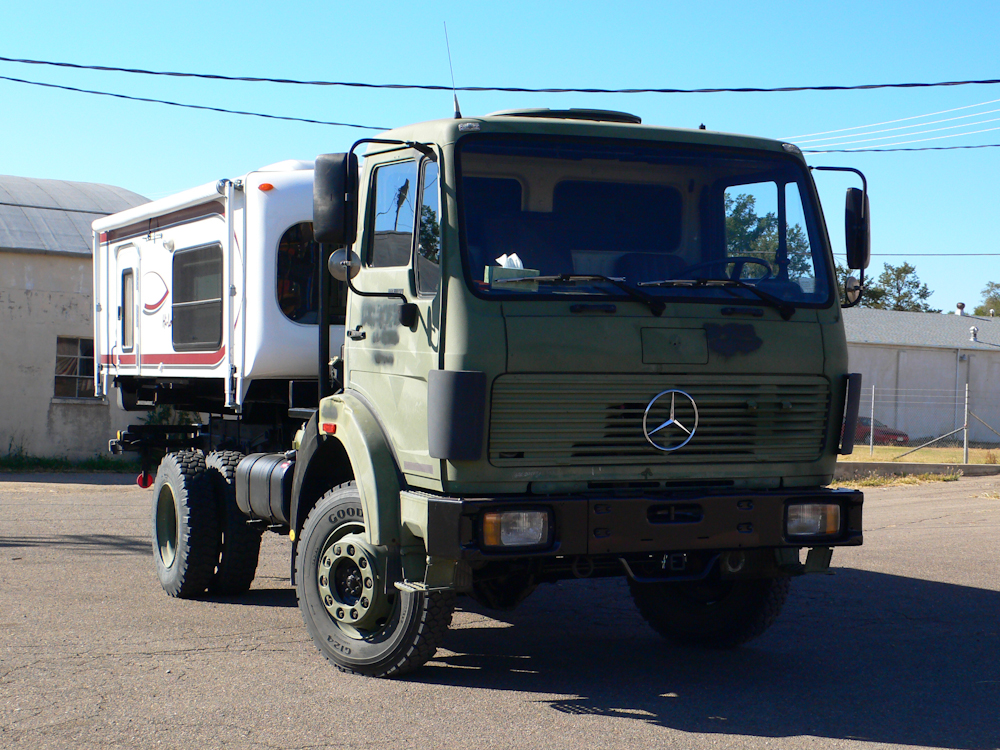
A
front-on view of the truck.
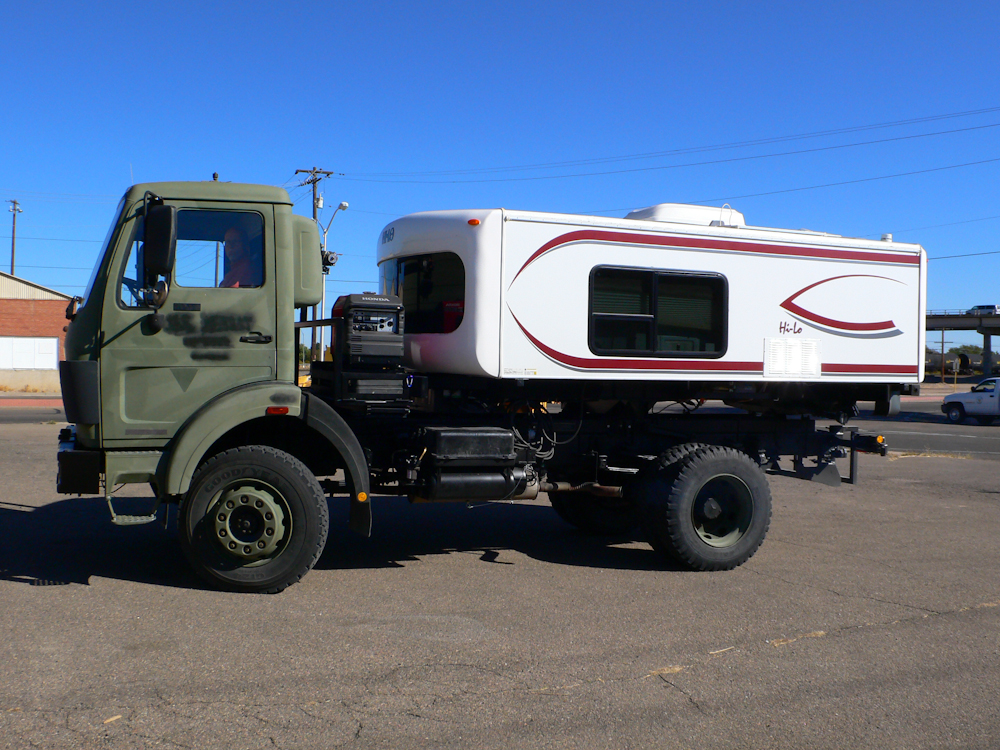
The
driver's side view shows the generator mounting.
Kathleen shot this as I headed out to the Big R store for supplies.
This was a ton of work. Actually, it was more work than I expected but persistence prevailed in the end. Rob proved himself an expert fabricator and did an outstanding job on all facets of the work. Our work here in La Junta is complete and tomorrow we will load both trucks and return to San Diego to complete internal actions and an electrical retro-fit.
Many thanks to Rob
and Erin for hosting us and allowing us to use the shower and laundry
facilities at their home.
| Previous Adventure | ||
| Trip Home Page |
Photos and Text Copyright Bill Caid 2010, all rights
reserved.
For your enjoyment only, not for commercial use.